
The cast texture gives the coupler its appearance, but the surfaces that move against each other need a little preparation. Graphite and a few minutes of movement help the knuckle open, close and lock freely.
1. Apply graphite.
Use an ordinary HB (#2) pencil on the vertical face of the head and both the front and back of the knuckle. Pay attention to the casting’s parting line behind the knuckle: drawing the pencil across it helps remove light flash. Apply a little graphite to the knuckle lever, too.
Powdered graphite can also work, but a pencil is easier to control. The rubbed surfaces may look dark at first; the graphite will wear with use. A harder 2H (#4) pencil gives a lighter initial color.

2. Work the mechanism.
Turn the couplers upside down so the locking balls release the knuckles. Work the heads together and apart by hand. This distributes the graphite and helps free light flash from the mechanism.
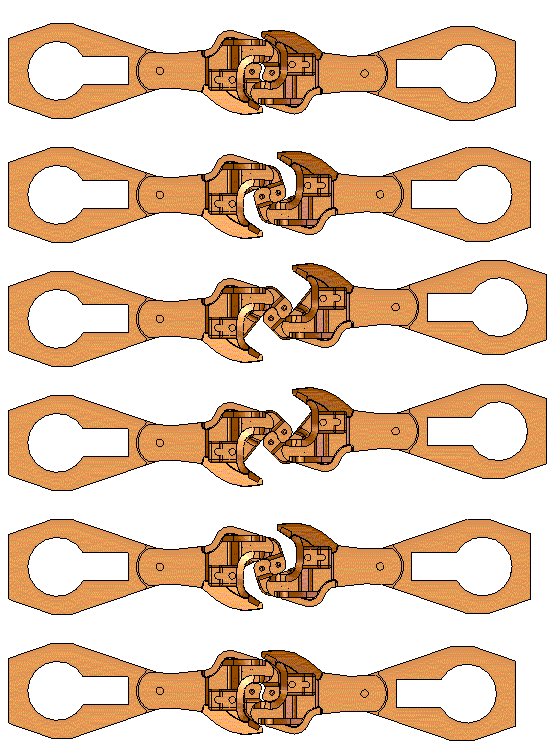
3. Polish the mating surfaces.
Turn the couplers upright and let them lock together. Push the heads toward each other while sliding them vertically against one another. This polishes the socket and the front of each knuckle. Then apply a gentle pulling load while repeating the vertical movement to polish the inside faces of the knuckles.
A slight catch as the casting parting lines cross is normal. Use a Type E coupler as the mating head when breaking in Type F or H couplers—their interlocking heads prevent a matching pair from sliding vertically.
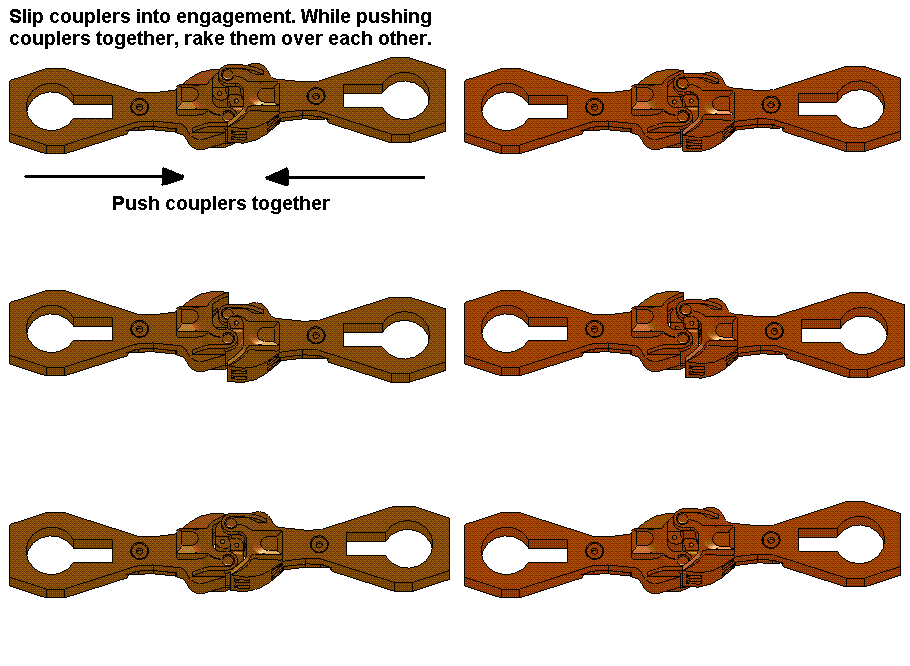
4. Check the result.
Check that the knuckles move freely, the couplers lock when upright, and the uncoupling wand releases them. If one still catches or fails to lock, inspect it for stray flash or adhesive using the assembly tips. The disassembly guide explains how to open a metal coupler if closer inspection is needed.