
Assembly Tip #1 - Lots of Light
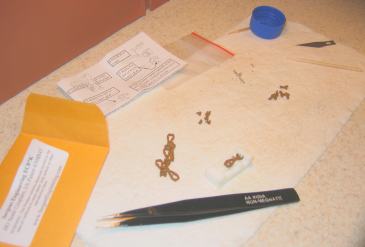
The locking balls, springs and knuckles are small. Work in good light, with a magnifier if useful, and arrange your tools before opening the kit. Read the workbench safety guidance and the instructions for your specific product.
Assembly Tip #2 - Anti-Roll-Away Surface
A light-colored work surface makes loose parts easier to see. A shallow tray or a sheet of white paper towel helps keep a dropped ball from rolling away.
Assembly Tip #3 - Non-magnetic Tweezers
Handle locking balls with clean, non-magnetic tweezers. Skin oils and other residue can make a ball stick inside the coupler. Do not assume stainless steel tweezers are non-magnetic; check the tool’s specification.
Choose tweezers that feel comfortable and need little pressure to close. A heavy squeeze can send a tiny part flying. Keep a light grip and wear eye protection.
Assembly Tip #4 - What Type of Glue?
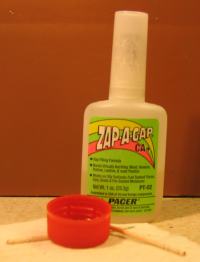
Use the thick cyanoacrylate adhesive specified in the assembly guide. Apply it sparingly and keep it away from the locking ball and pivot. If the adhesive has thickened or no longer cures as expected, follow its manufacturer’s storage and replacement guidance.
Dispense a small amount of adhesive into a suitable disposable container, then use a toothpick to transfer one tiny drop at a time. Follow the adhesive’s handling instructions and keep the main bottle closed between uses.
The adhesive keeps the bottom cover in place; the fit between the castings carries the pulling load. Some older factory-assembled EC87 and EN87 couplers used a staked shank to speed assembly. Follow the method in your kit’s guide rather than adding a stake, which can make later disassembly harder.
Assembly Tip #5 - Disassembly with Acetone
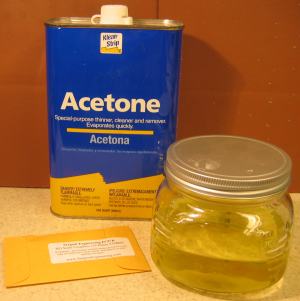
If an assembled metal coupler still will not operate after inspection and break-in, use the disassembly guide to open it. Acetone can soften cyanoacrylate, but it is highly flammable and can damage paint, plastic and resin. Remove the coupler from the model first, use a compatible covered container, and follow the solvent label and our safety guidance.
Keep tweezers free of adhesive and oil so the locking balls release cleanly. Use a cleaning method compatible with the tool and follow the cleaner’s safety instructions.
Assembly Tip #6 - Beware of Orange Bits
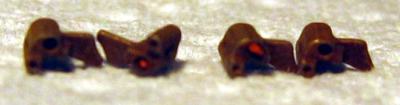
Inspect the castings for debris before assembly, especially the hinge-pin holes in the small knuckles. The older Sergent example pictured here shows orange-colored tumbling material trapped in two holes. Remove loose debris carefully with a hobby-knife tip, keeping the blade directed away from your hands.
Assembly Tip #7 - Look for Casting Flash
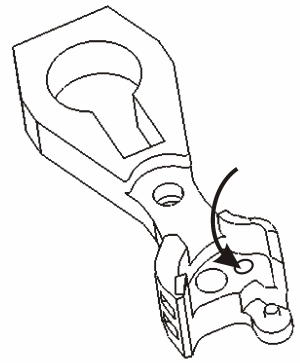
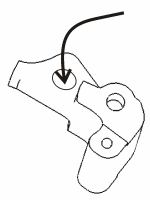
Check for casting flash at the ejector-pin locations, inside the knuckle and around the ball seat. The drawings show where to look. Remove visible flash carefully during assembly so it cannot break loose later and interfere with the locking ball or knuckle lever.
If a coupler still catches, inspect it for loose flash around the mechanism. Do not force the knuckle. Refer to the disassembly guide if the obstruction cannot be reached safely.
Assembly Tip #8 - Lost Instruction Sheet?
Find the matching instruction sheet and additional illustrated guides in the assembly instructions directory.