Coupling and uncoupling
Realistic operation.
One movement at a time.
Unlock with the magnetic wand. Align the couplers by hand. Bring them together slowly.
Follow the movement.
Watch the train and coupler views at each stage. Play, pause or replay any demonstration as you go.
Explore the uncoupling wand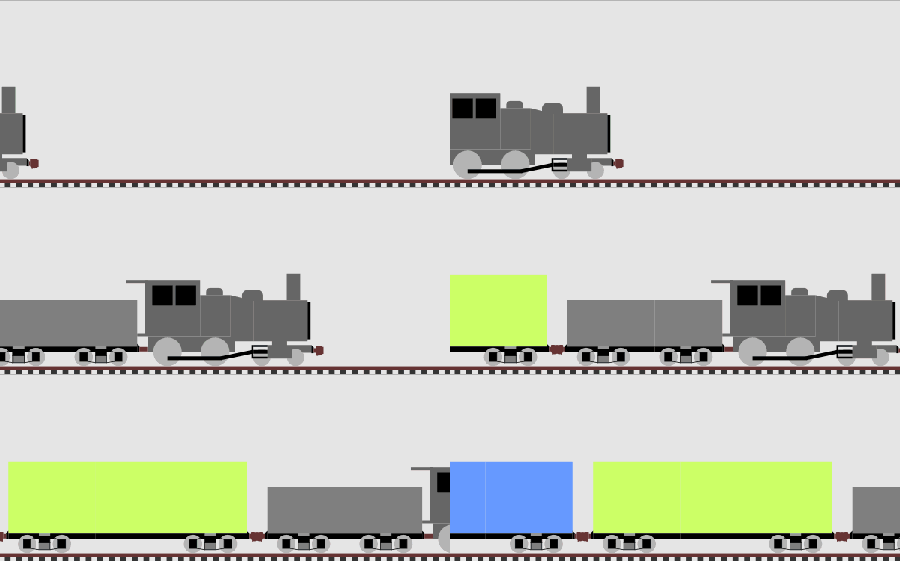
01
Make a cut.
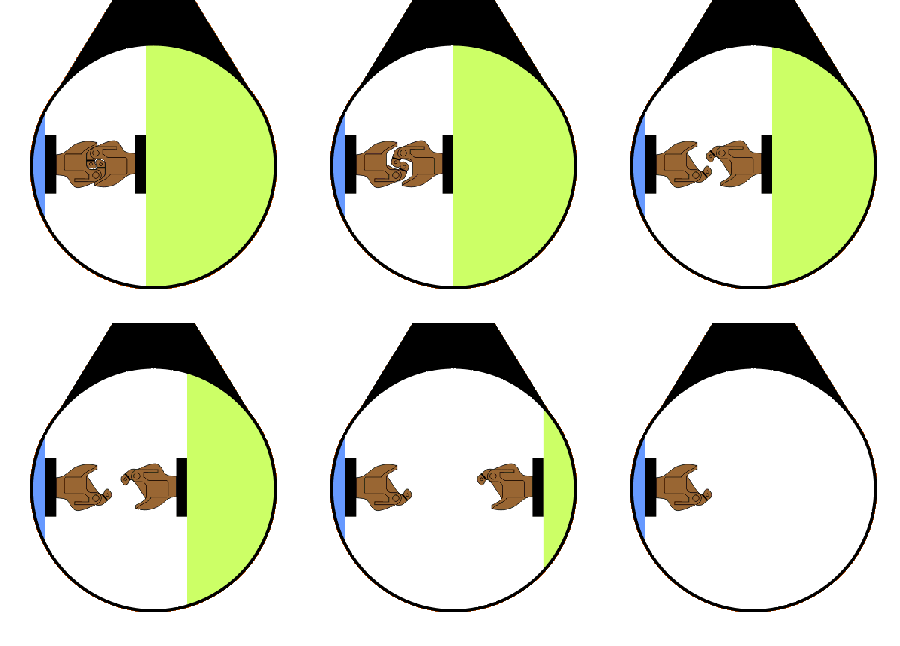
Stop the train and allow slack between the couplers. Hold the plain end of the magnetic wand over the connection, then pull away.
Read the full instructions
This is simple. First stop the train and (as with the prototype) ensure that there is slack in the couplers. You may have to crack the throttle in reverse just a hair to ensure the couplers are slacked. Hold the magnetic uncoupling wand over the couplers you wish to disconnect. Use the end of the wand without the little wire sticking out. (We'll see how to use the other end of the uncoupler in a moment.) Open the throttle and pull away.
Our engine has gone away to set out that green boxcar. Next, we'll see how to tie the train back together after the setout is made.
02
Bring them close.
Approach slowly and stop short if the couplers are misaligned or a knuckle is closed. These couplers do not centre themselves.
Read the full instructions
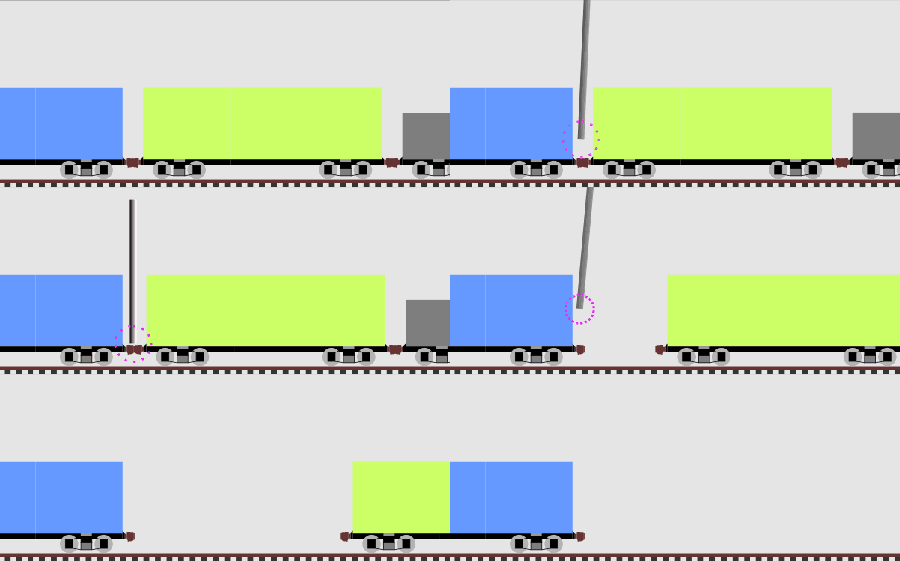
Our engine has returned and we need to tie the train back together. Note that the engine has approached slowly so the brakemen can verify that the couplers are aligned properly for the tie. Prototype couplers have no "centering springs" and there is no guarantee that knuckles will even be open! In many instances, the couplers will be lined up and open and the engine would go all the way back to couple up. This time though, the couplers are not aligned and the knuckle on the engine is almost closed! The engine has to stop short and allow the brakeman to get everything right.
Let's line 'em up!


03
Line up the connection.
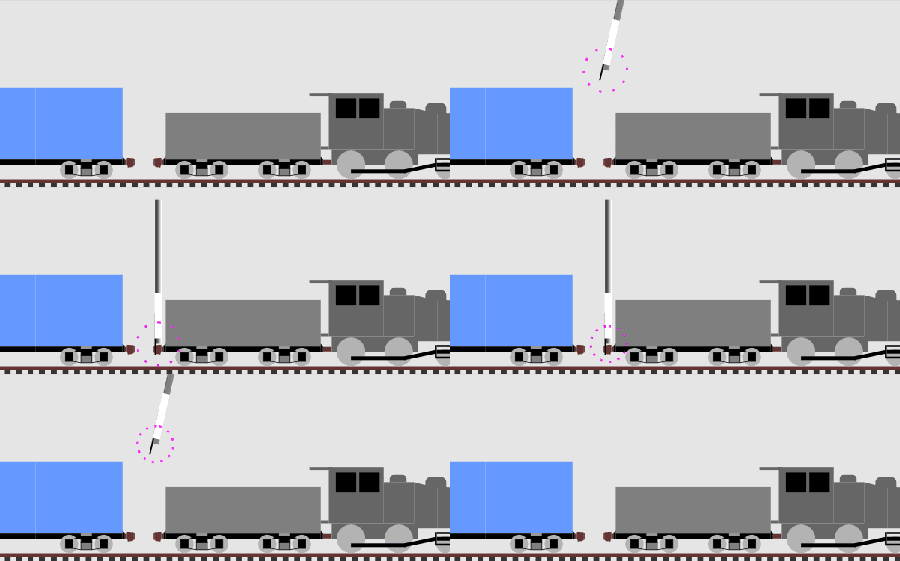
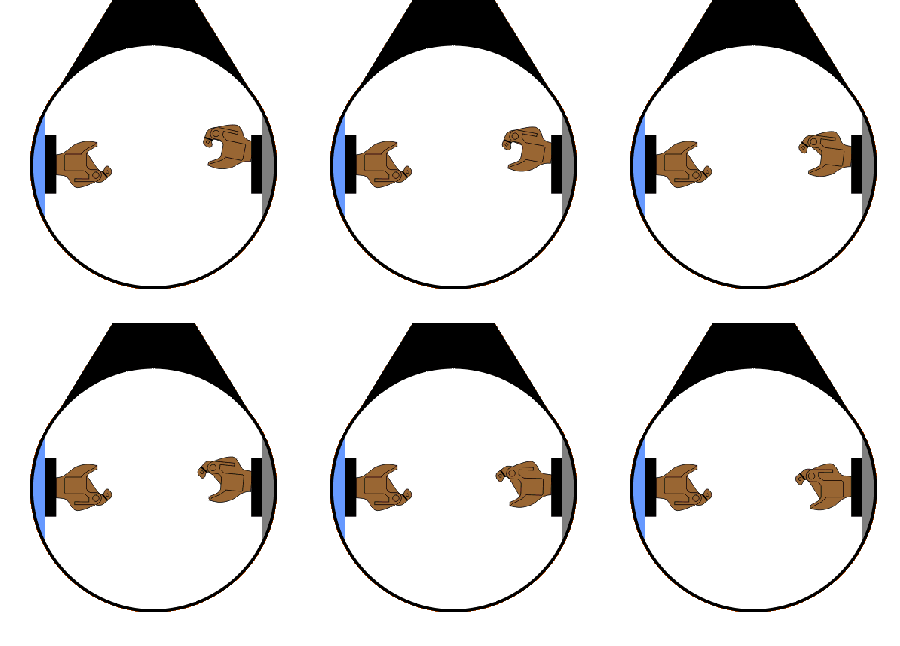
Use the wire end of the wand to unlock and open the knuckle. Align the couplers by hand; the friction spring holds their position.
Read the full instructions
Use the end of the uncoupling wand with the wire for this job. Both ends of the wand are magnetic, so the end with the wire will unlock the knuckle and the wire can flip it open in a single operation. The friction spring ensures the couplers stay where you put them.
"Come on back!"
04
Come together. Then check.
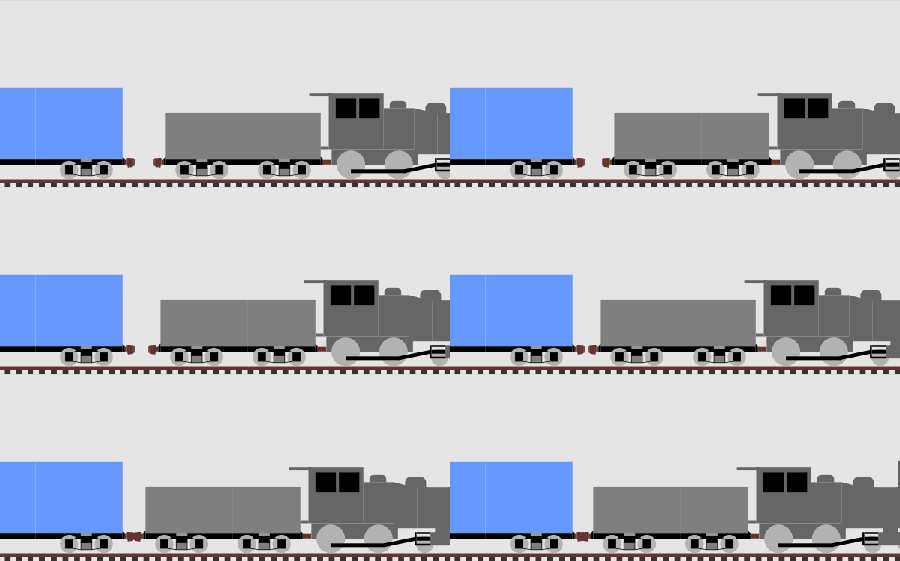
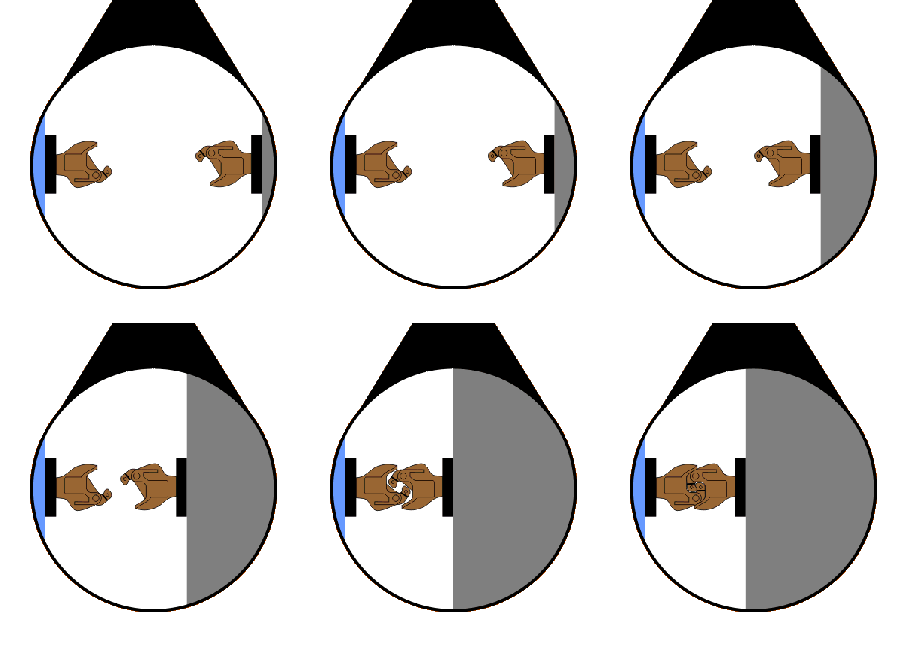
Move in slowly until the couplers engage. Pull forward a little to take up the slack and check that the connection has locked.
Read the full instructions
Now that the couplers are lined up, the engine very slowly backs under the guidance of the brakeman until the couplers engage.
"That'll doo!"
"Gimmie a stretch"
The stretch is accomplished by pulling the engine forward just a bit to take out the slack in the couplers and verify that the couplers have indeed locked.
Now allow a little time for the brakeman to hook up the air lines and for brakes to pump up.
05
Ready to move.
The connection is made. Continue the operating sequence and ease the train away.
Read the full instructions
Our work is done here and its time to go home. Don't get too excited and pick up too much speed before the brakeman has swung up on the caboose!
Ready for your layout.
Check compatibility or find the couplers and tools for your models.