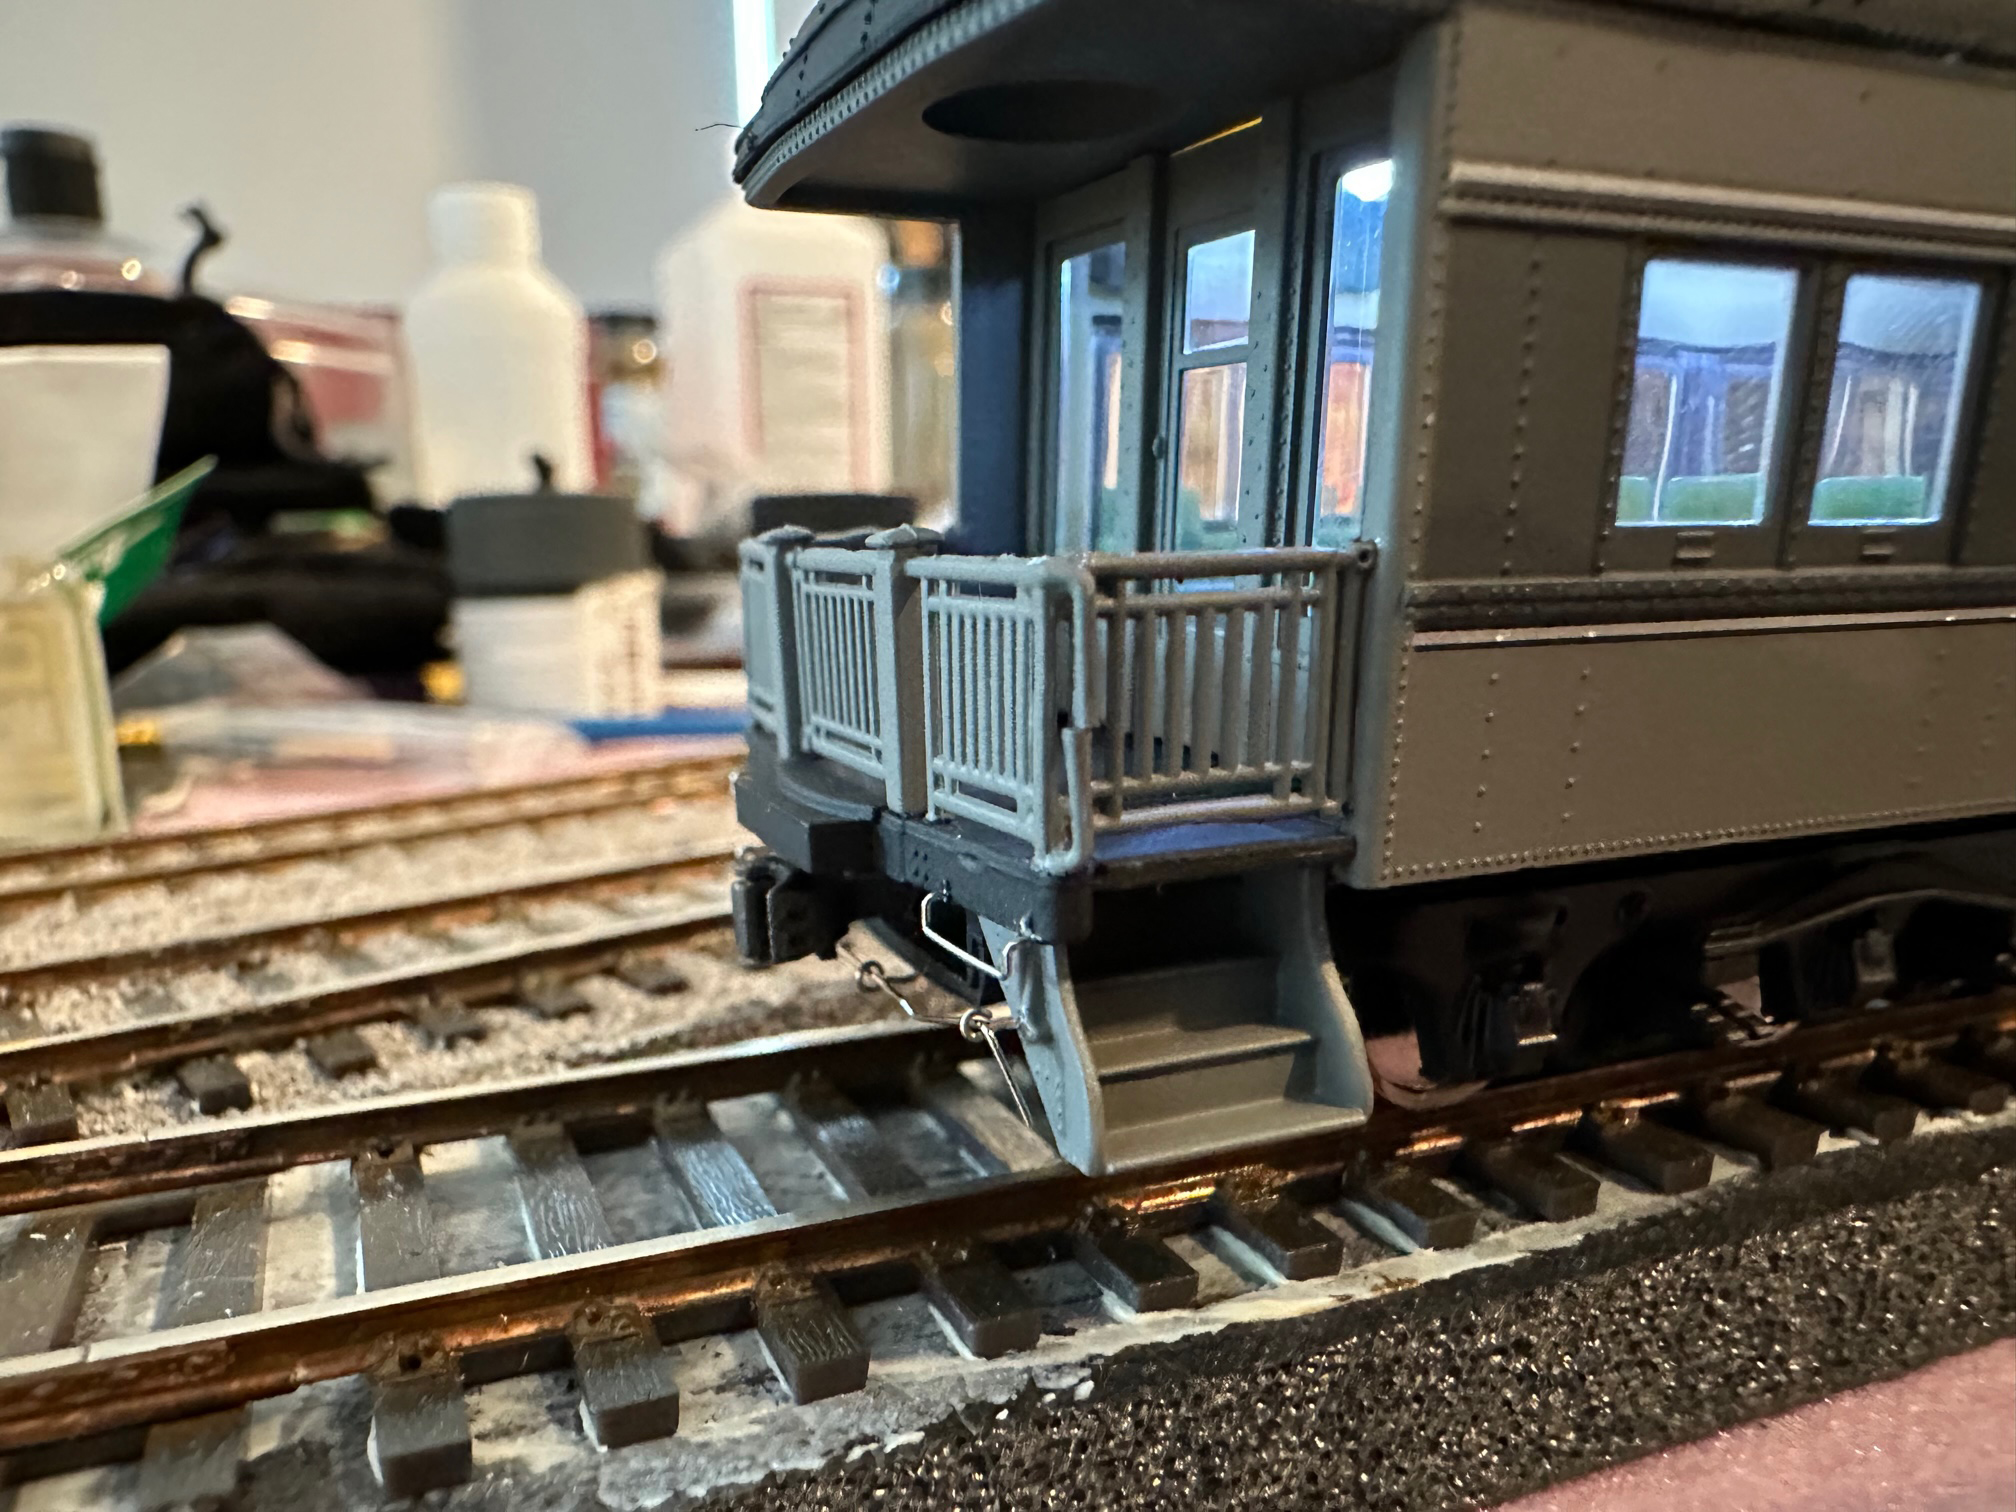
I like the looks of Walther's passenger cars a lot. The detail level is not extraordinary, but still very good. Conversion of these cars to Prototype couplers is quick and easy - much easier than the conversion for the Walthers lightweight passenger cars.
These cars need Type E couplers and Prototype Couplers has a Tailor Made coupler just for the Walthers cars. The Prototype Couplers ET1R87K kit includes couplers specifically for these cars. These couplers provide proper separation of the cars for the factory diaphrams. These couplers also provide better tracking by removing the "dog-leg" factory mounting arragement. The cars will be more reliable when backing up and when coupled to shorter rolling stock.
The kit includes three bags of parts. The large bag contains the castings needed for the couplers themselves. The medium size bag contains parts needed to mount the coupler to allow side to side movement but hold the length constant. The smallest bag contains the locking balls for the couplers.
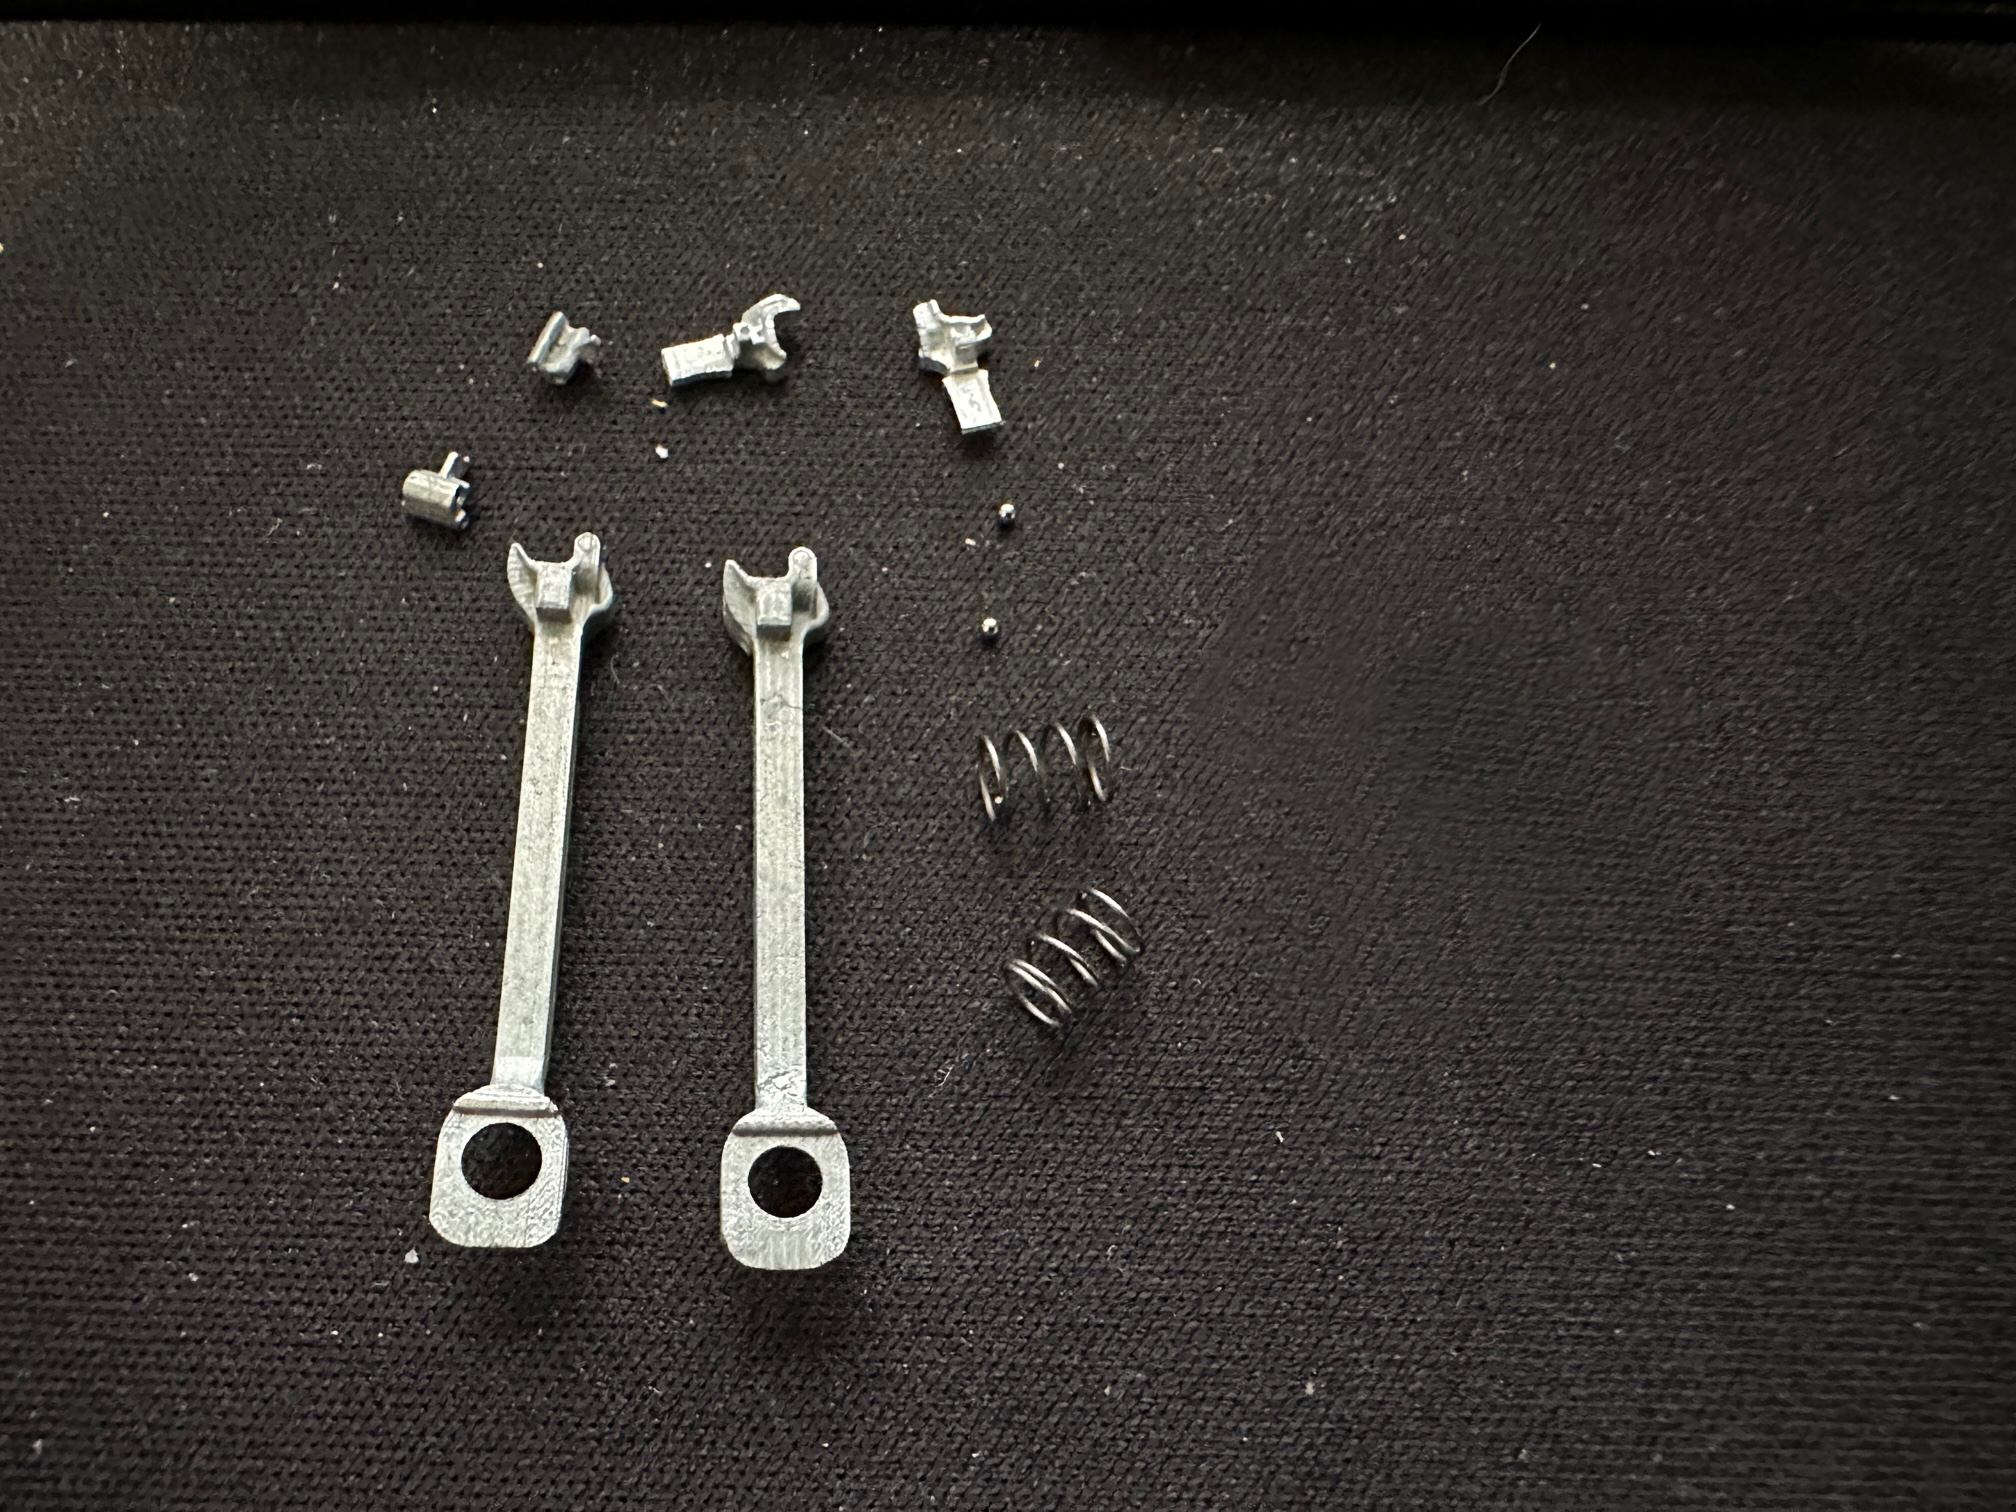
Assembly of the couplers is really no different than assembly of couplers with more conventional shanks. Before you start though, use a file to remove any sharp edges at the back of the top castings that might interfere with smooth operation.
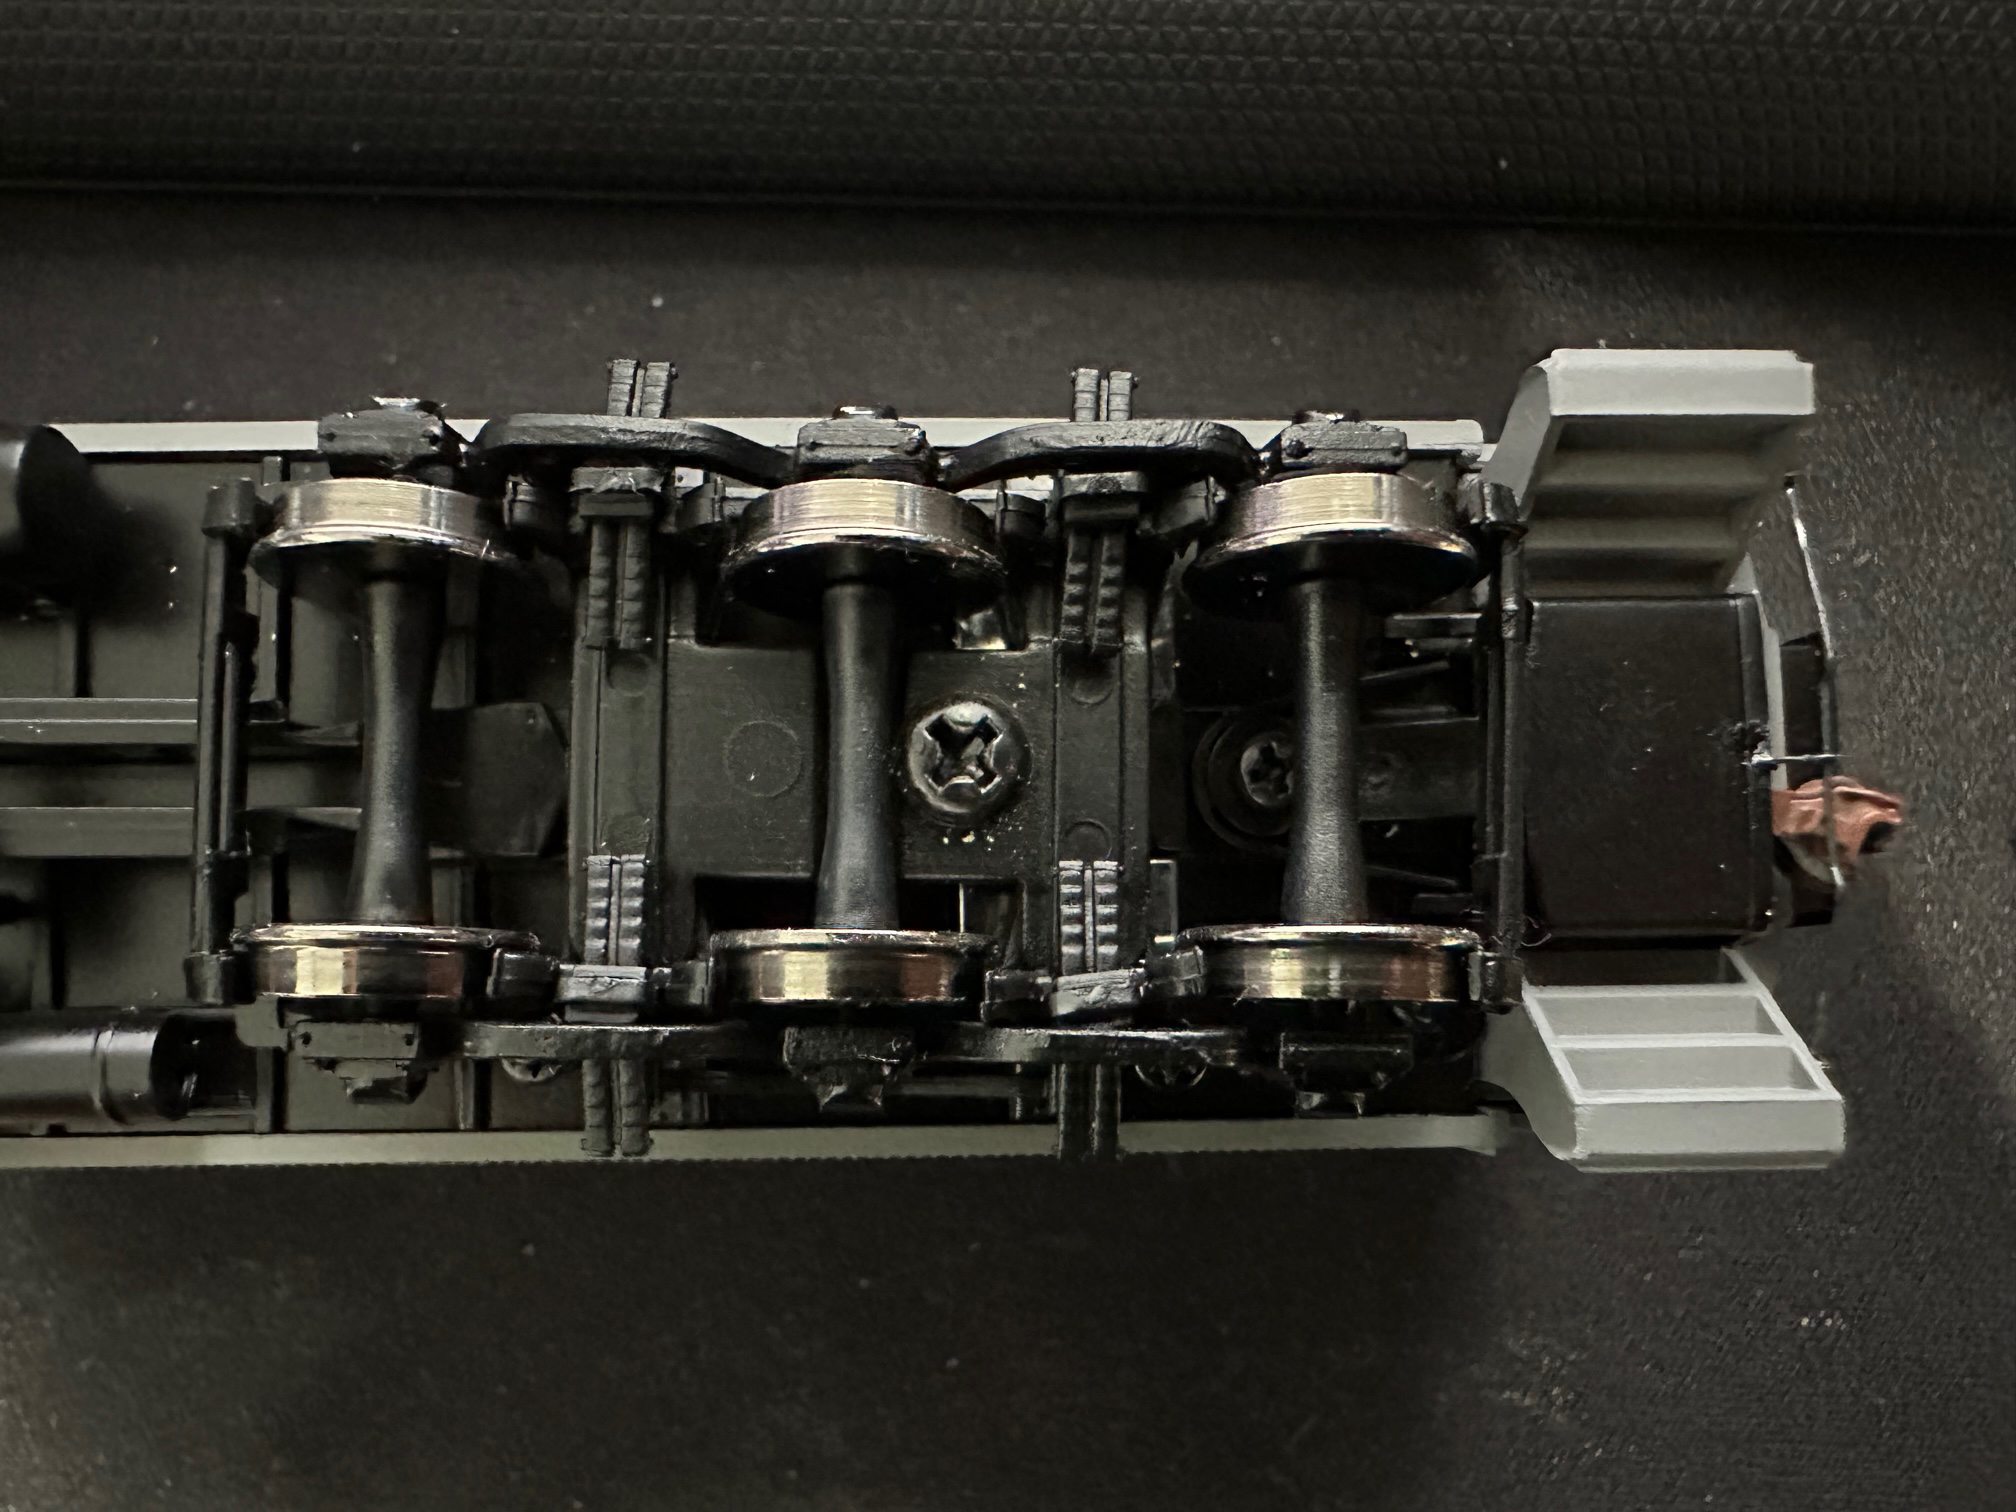
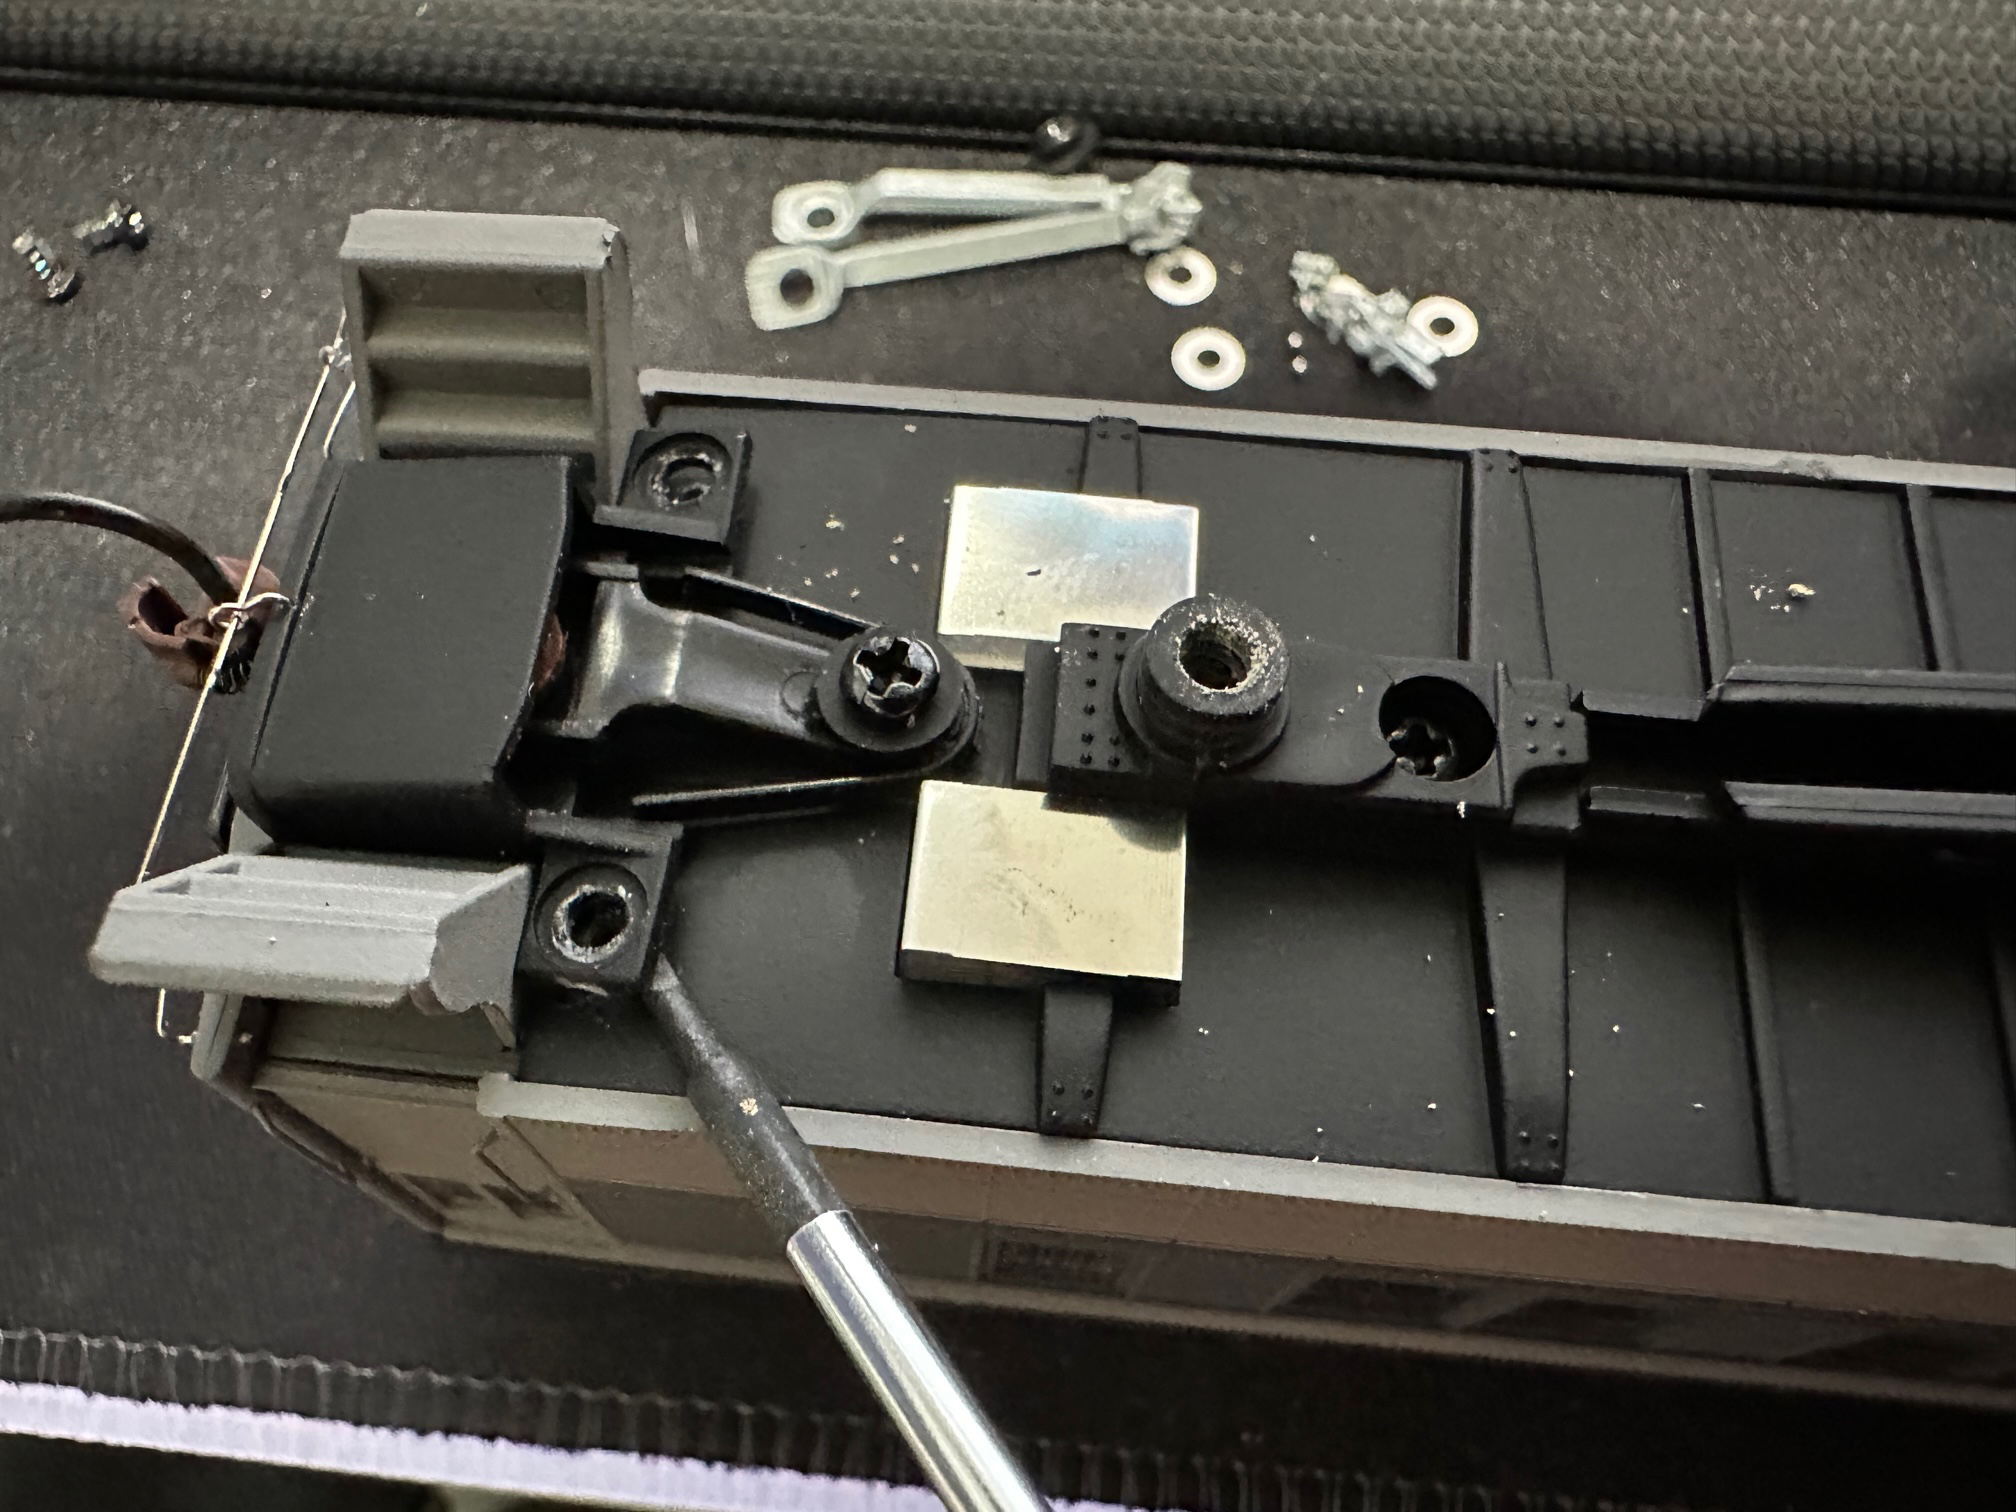
Here's what the underside of a Walthers heavyweight car looks like before we start.
You can see that the coupler is mounted on a swinging arm. The coupler swings in its pocket on the end of the arm as well. This arrangement is typical for many makes of passenger cars. The arrangement works pretty well when you are pulling a train around a tight curve. It doesn't work so well when pushing. It also tends to cause problems when coupled to a shorter car (like a loco tender).
To get started, remove the trucks. The carry iron will need to be loosened to allow coupler removal and installation. In this document we have left the carry iron on for installation as we have a cut lever installed to them.
You can optionally remove the carry iron. If you wish to remove the carry iron, the end of the car needs to be pried away from the body just a tad. The picture shows a small screwdriver in place to pry the carry iron back.
Regardless of if you wish to fully remove it or not, next remove the two screws that hold the carry iron and then pull the carry iron away from the body. You may have to wiggle it a little to get it loose. On some cars you will find that glue was used to attach the steps and that glue ends up holding the carry iron as well.
The coupler arm is easy to remove with a single screw once the carry iron is off.
OPTIONAL ONLY NEEDED IF YOU INSTALLED THE FACTORY CUT LEVERS.
The orginal Sergent is designed to rest against the carry iron when installed and is angled to reflect that. If you do not wish to have the coupler and carry iron touching you may also perform this. If you wish to installed it as Sergent recommends or do not want to risk breaking the coupler please skip this step.
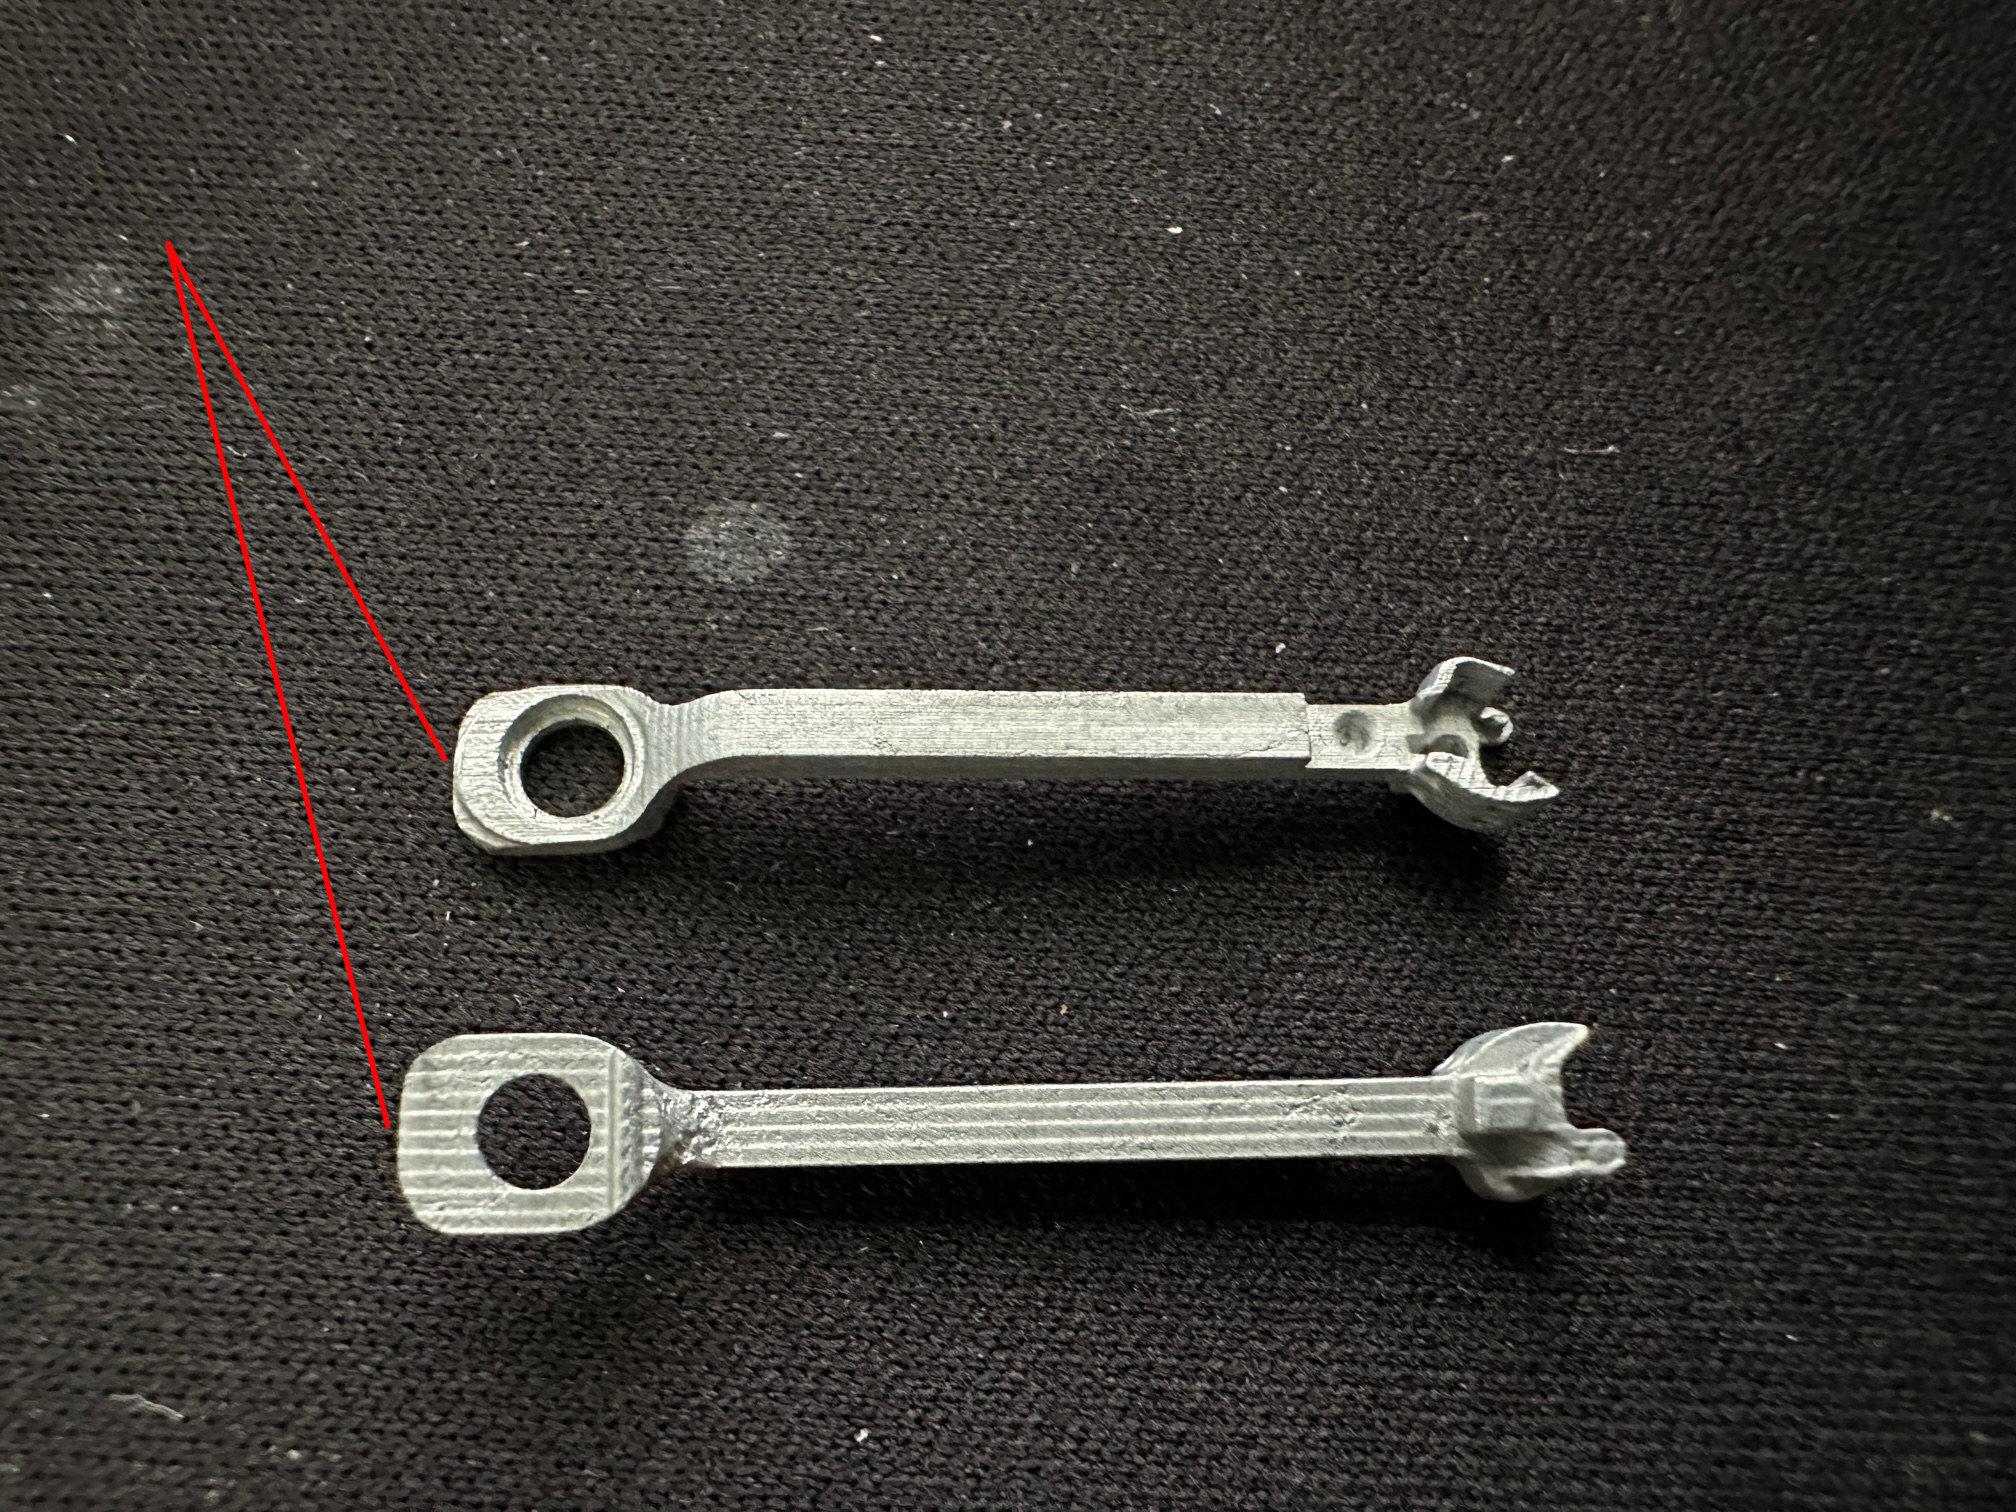
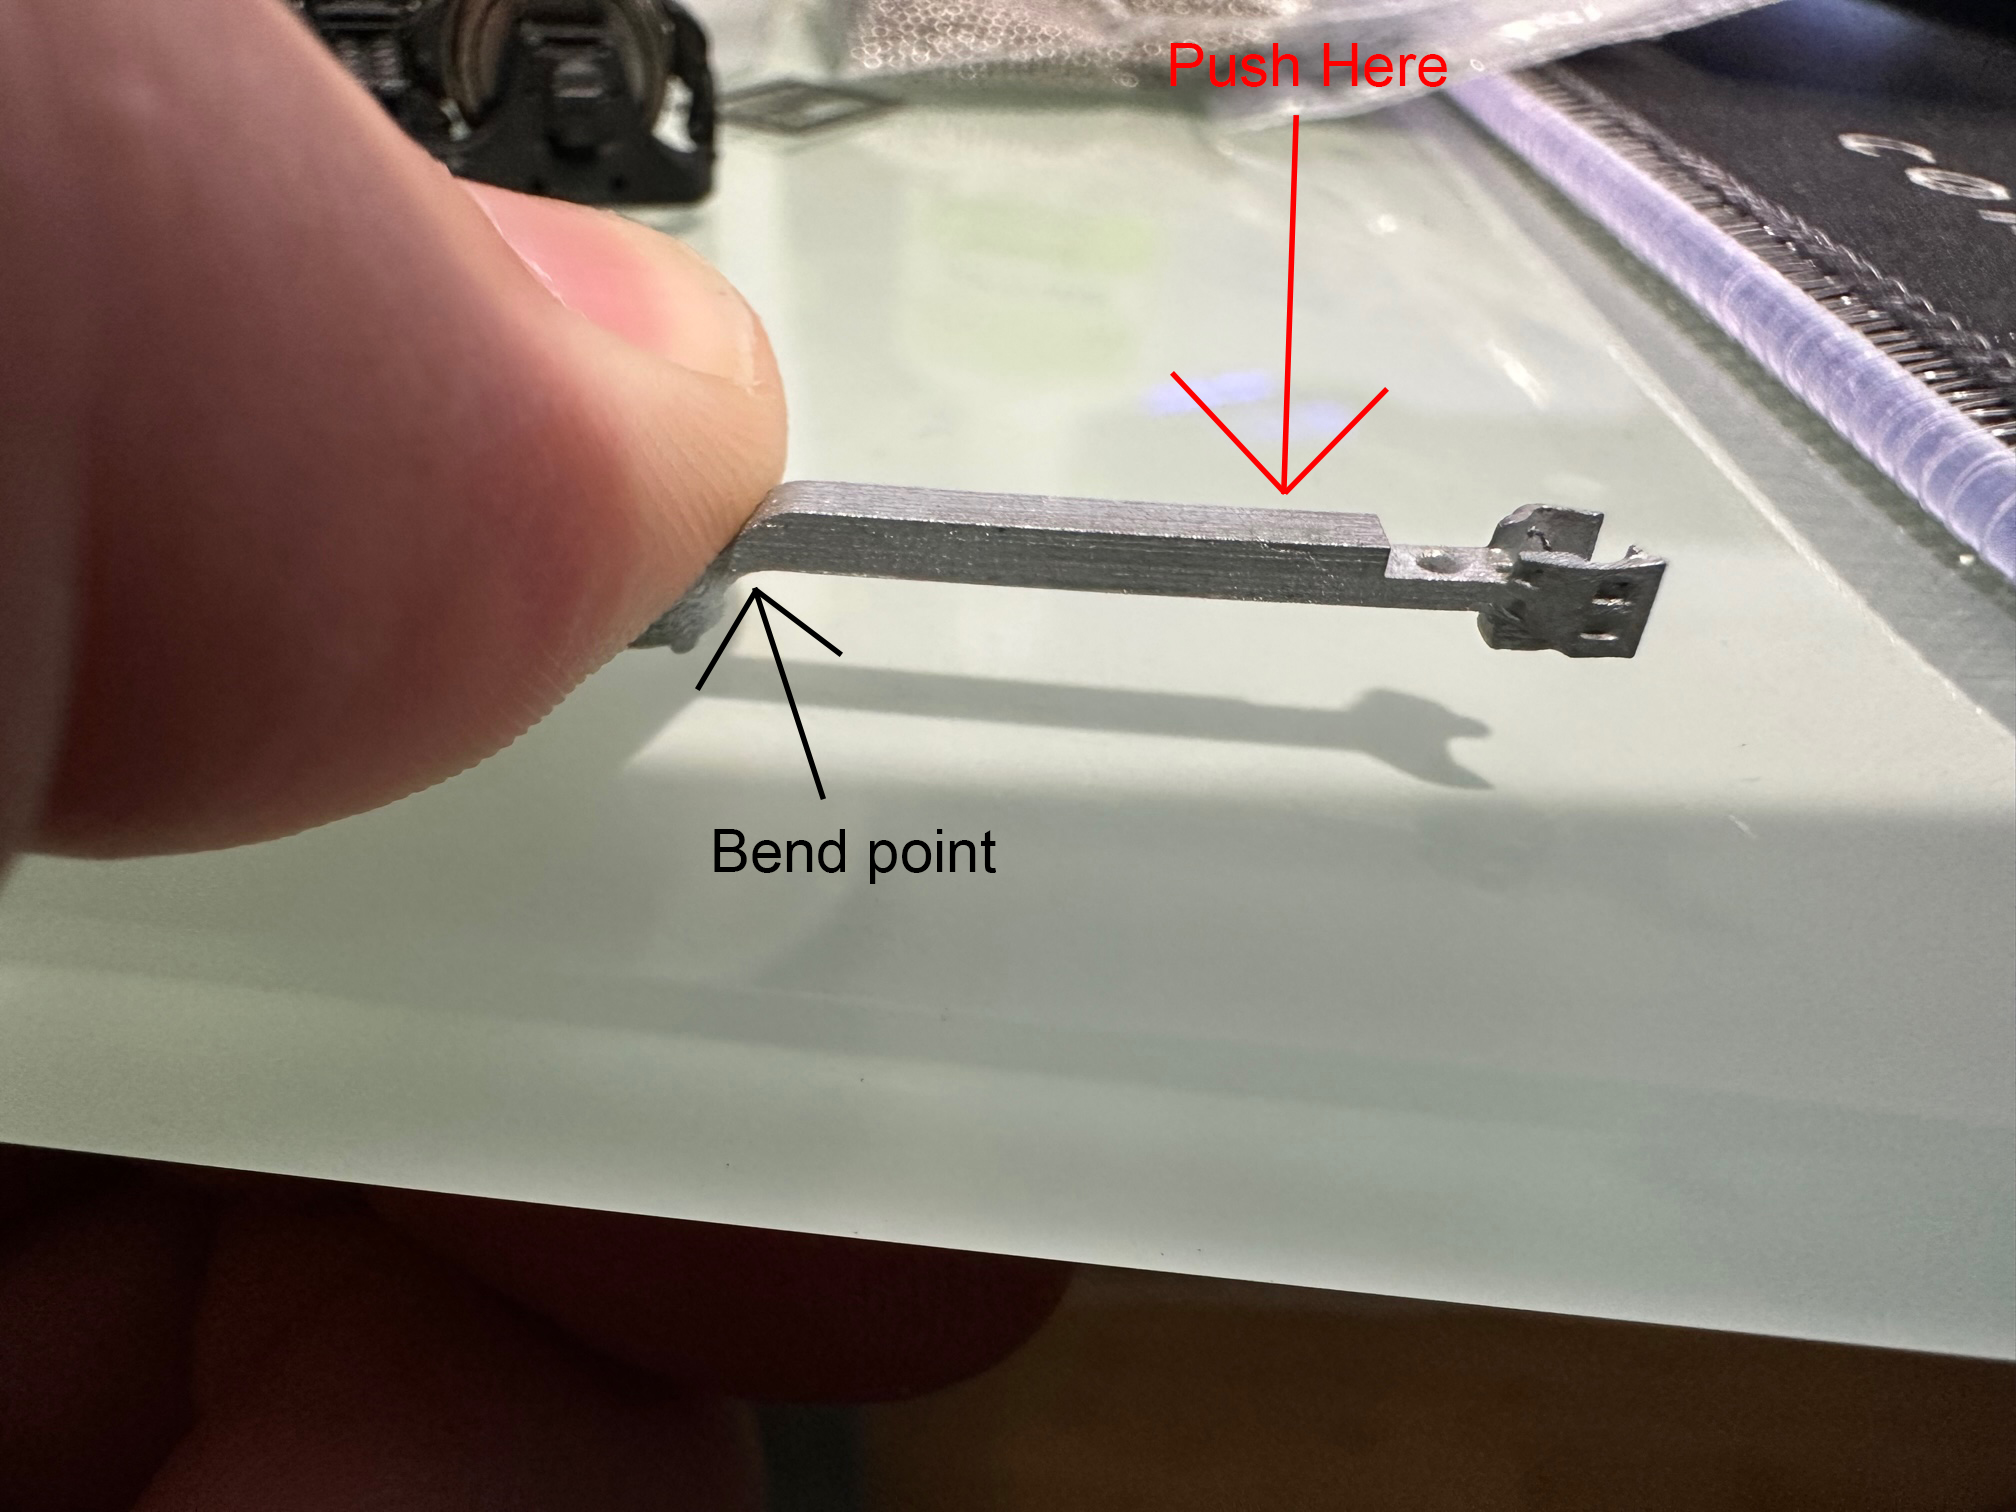
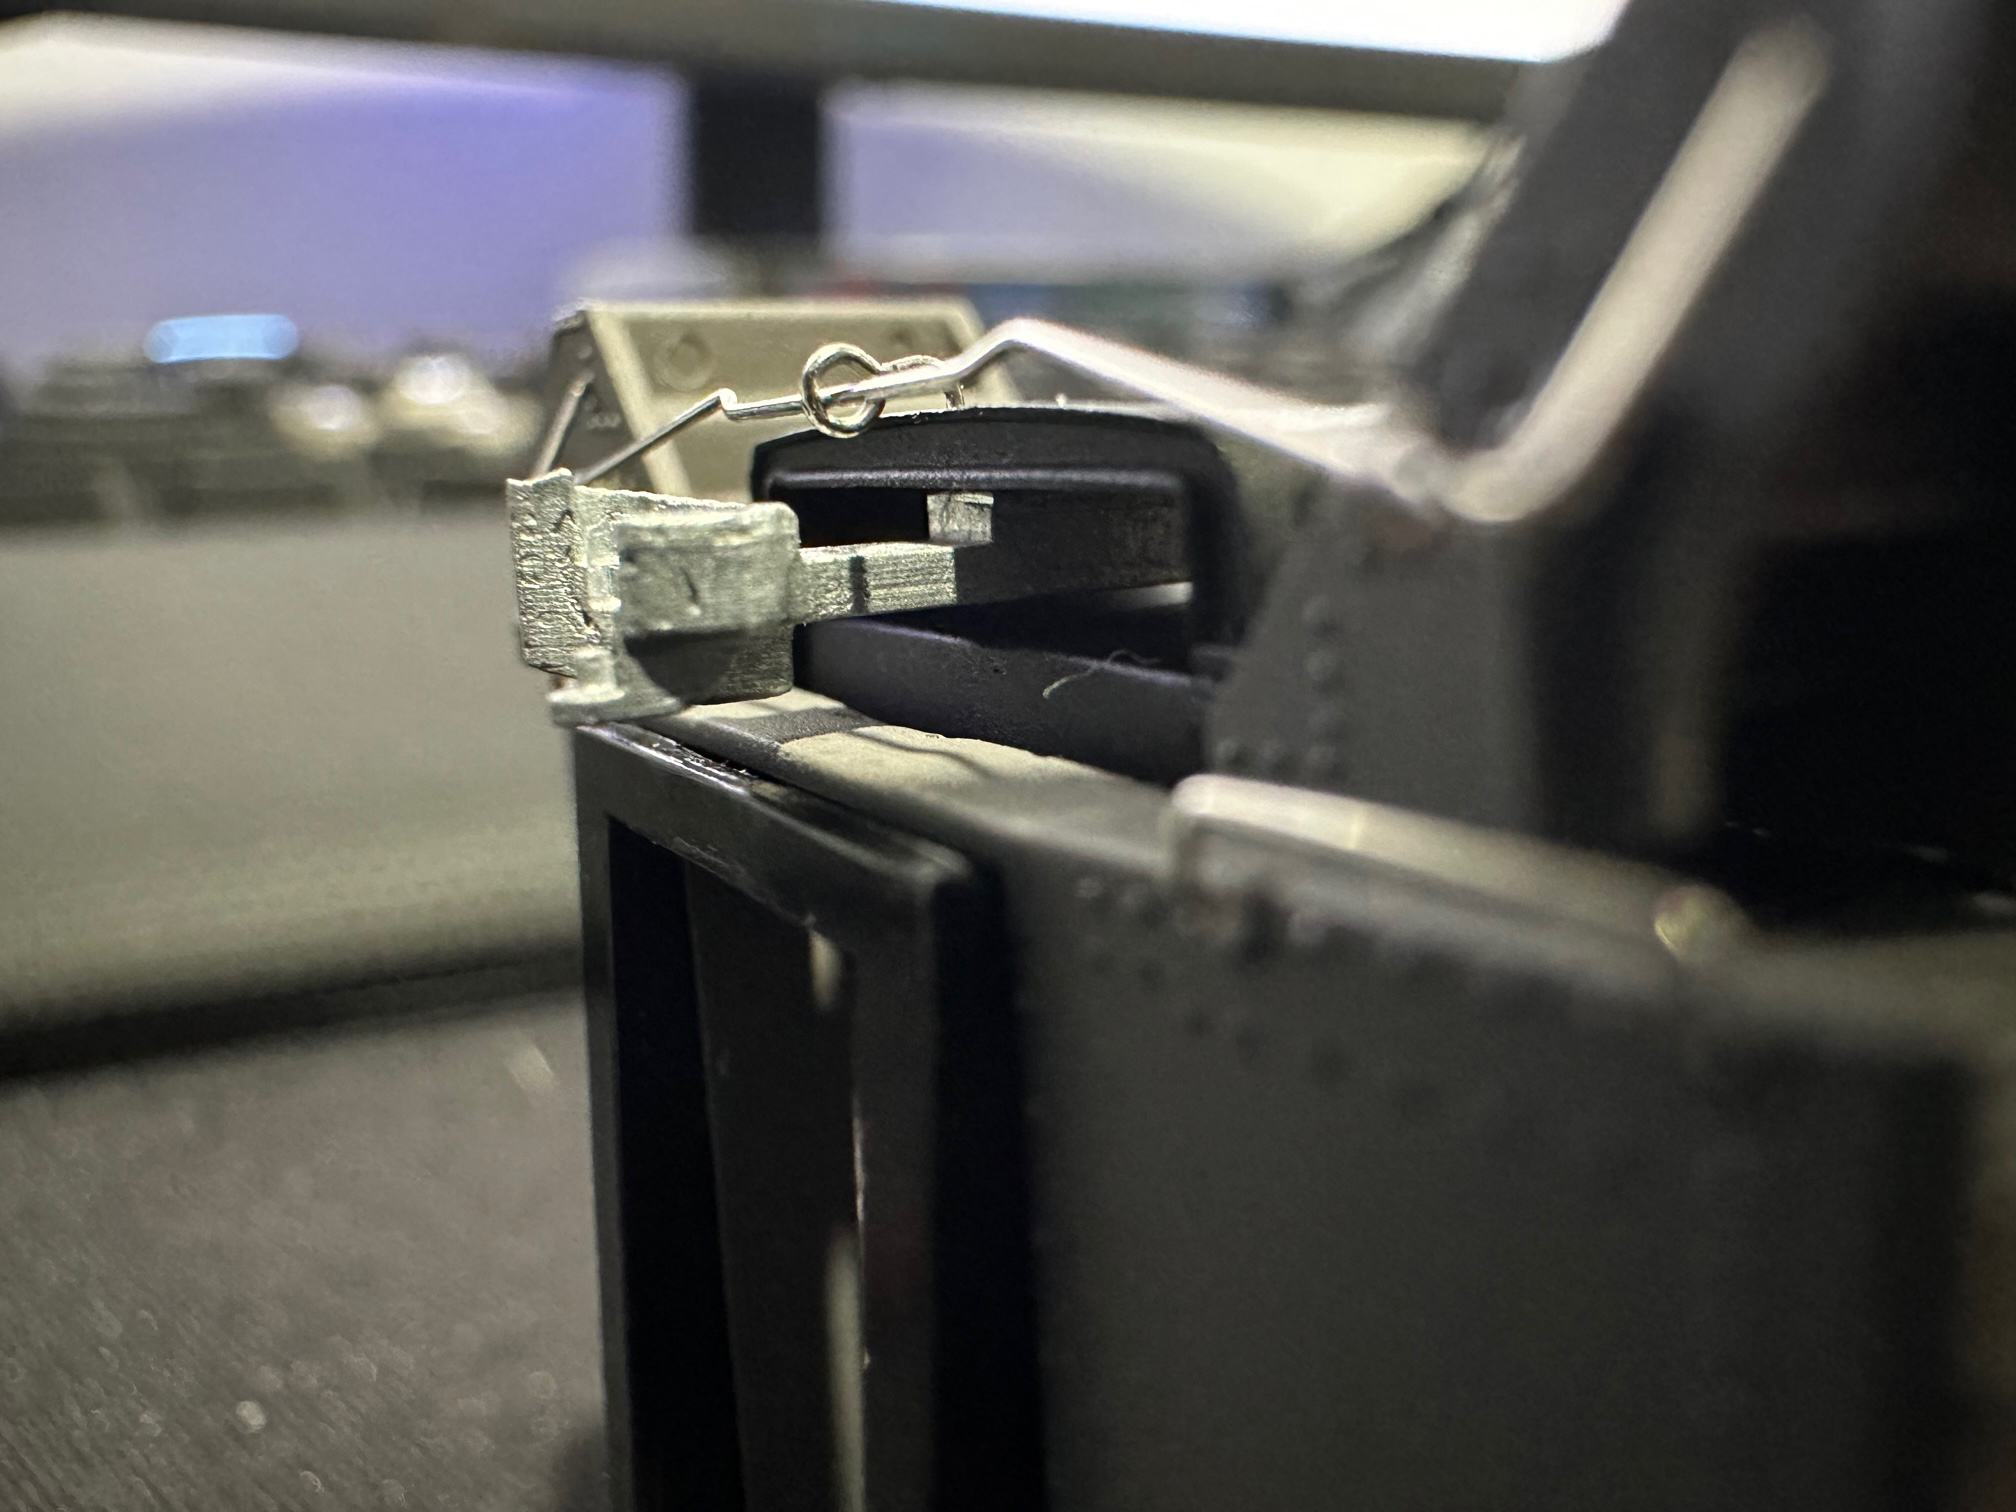
The coupler may need vertical alignment when you receive it if you have the factory cut lever installed. First check the alignment by placing it in its mounted position and holding it with your finger. If it shoots up too high away from the body it needs to be removed, and bent so that the shank rides between the body of the car and the carry iron.
When you are bending the shank place one finger on the pivot of the shank. With your other hand apply force as shown in red on the image. The bend should take place at the bend point. Slow is key here, just a little bit at a time, and recheck until it is where it needs to be. If you bend to hard or fast you risk breaking the coupler as zinc is brittle.
The second picture shows what the proper spacing is between the car and the carry iron. You do not want the coupler touching the car or the carry iron, just riding between the two.
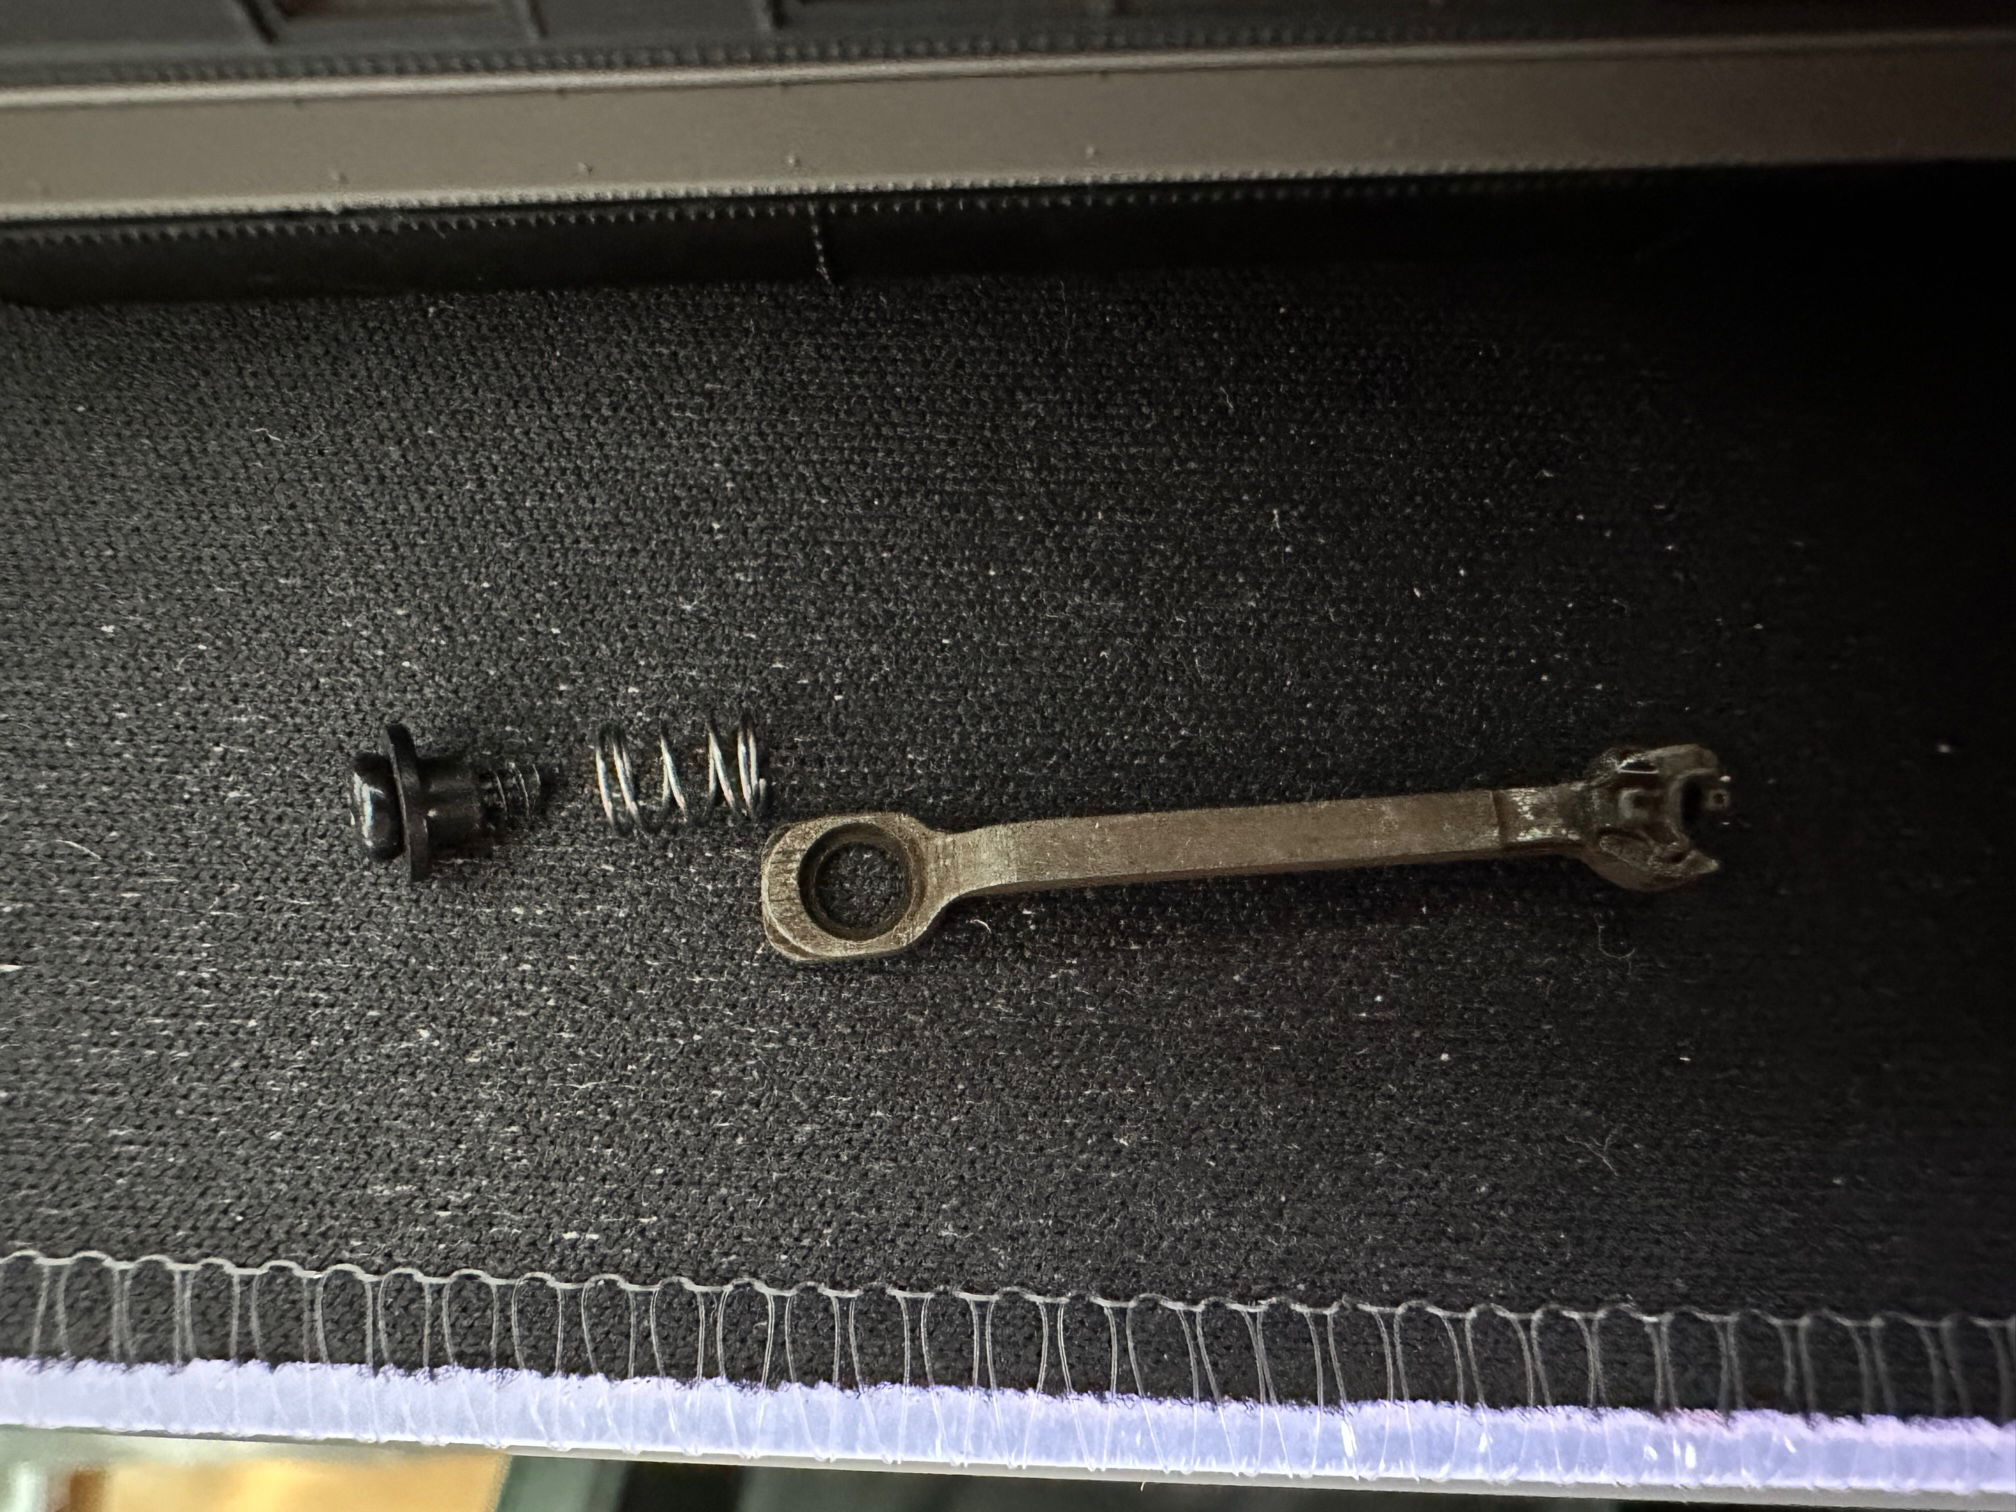
This picture shows the new coupler and mounting hardware. You will need to reuse the screw and spacer that came on your factory car. Be sure to blacken/paint them and do the break-in procedure on the coupler before you install it. These couplers need to operate flawlessly before they are installed.
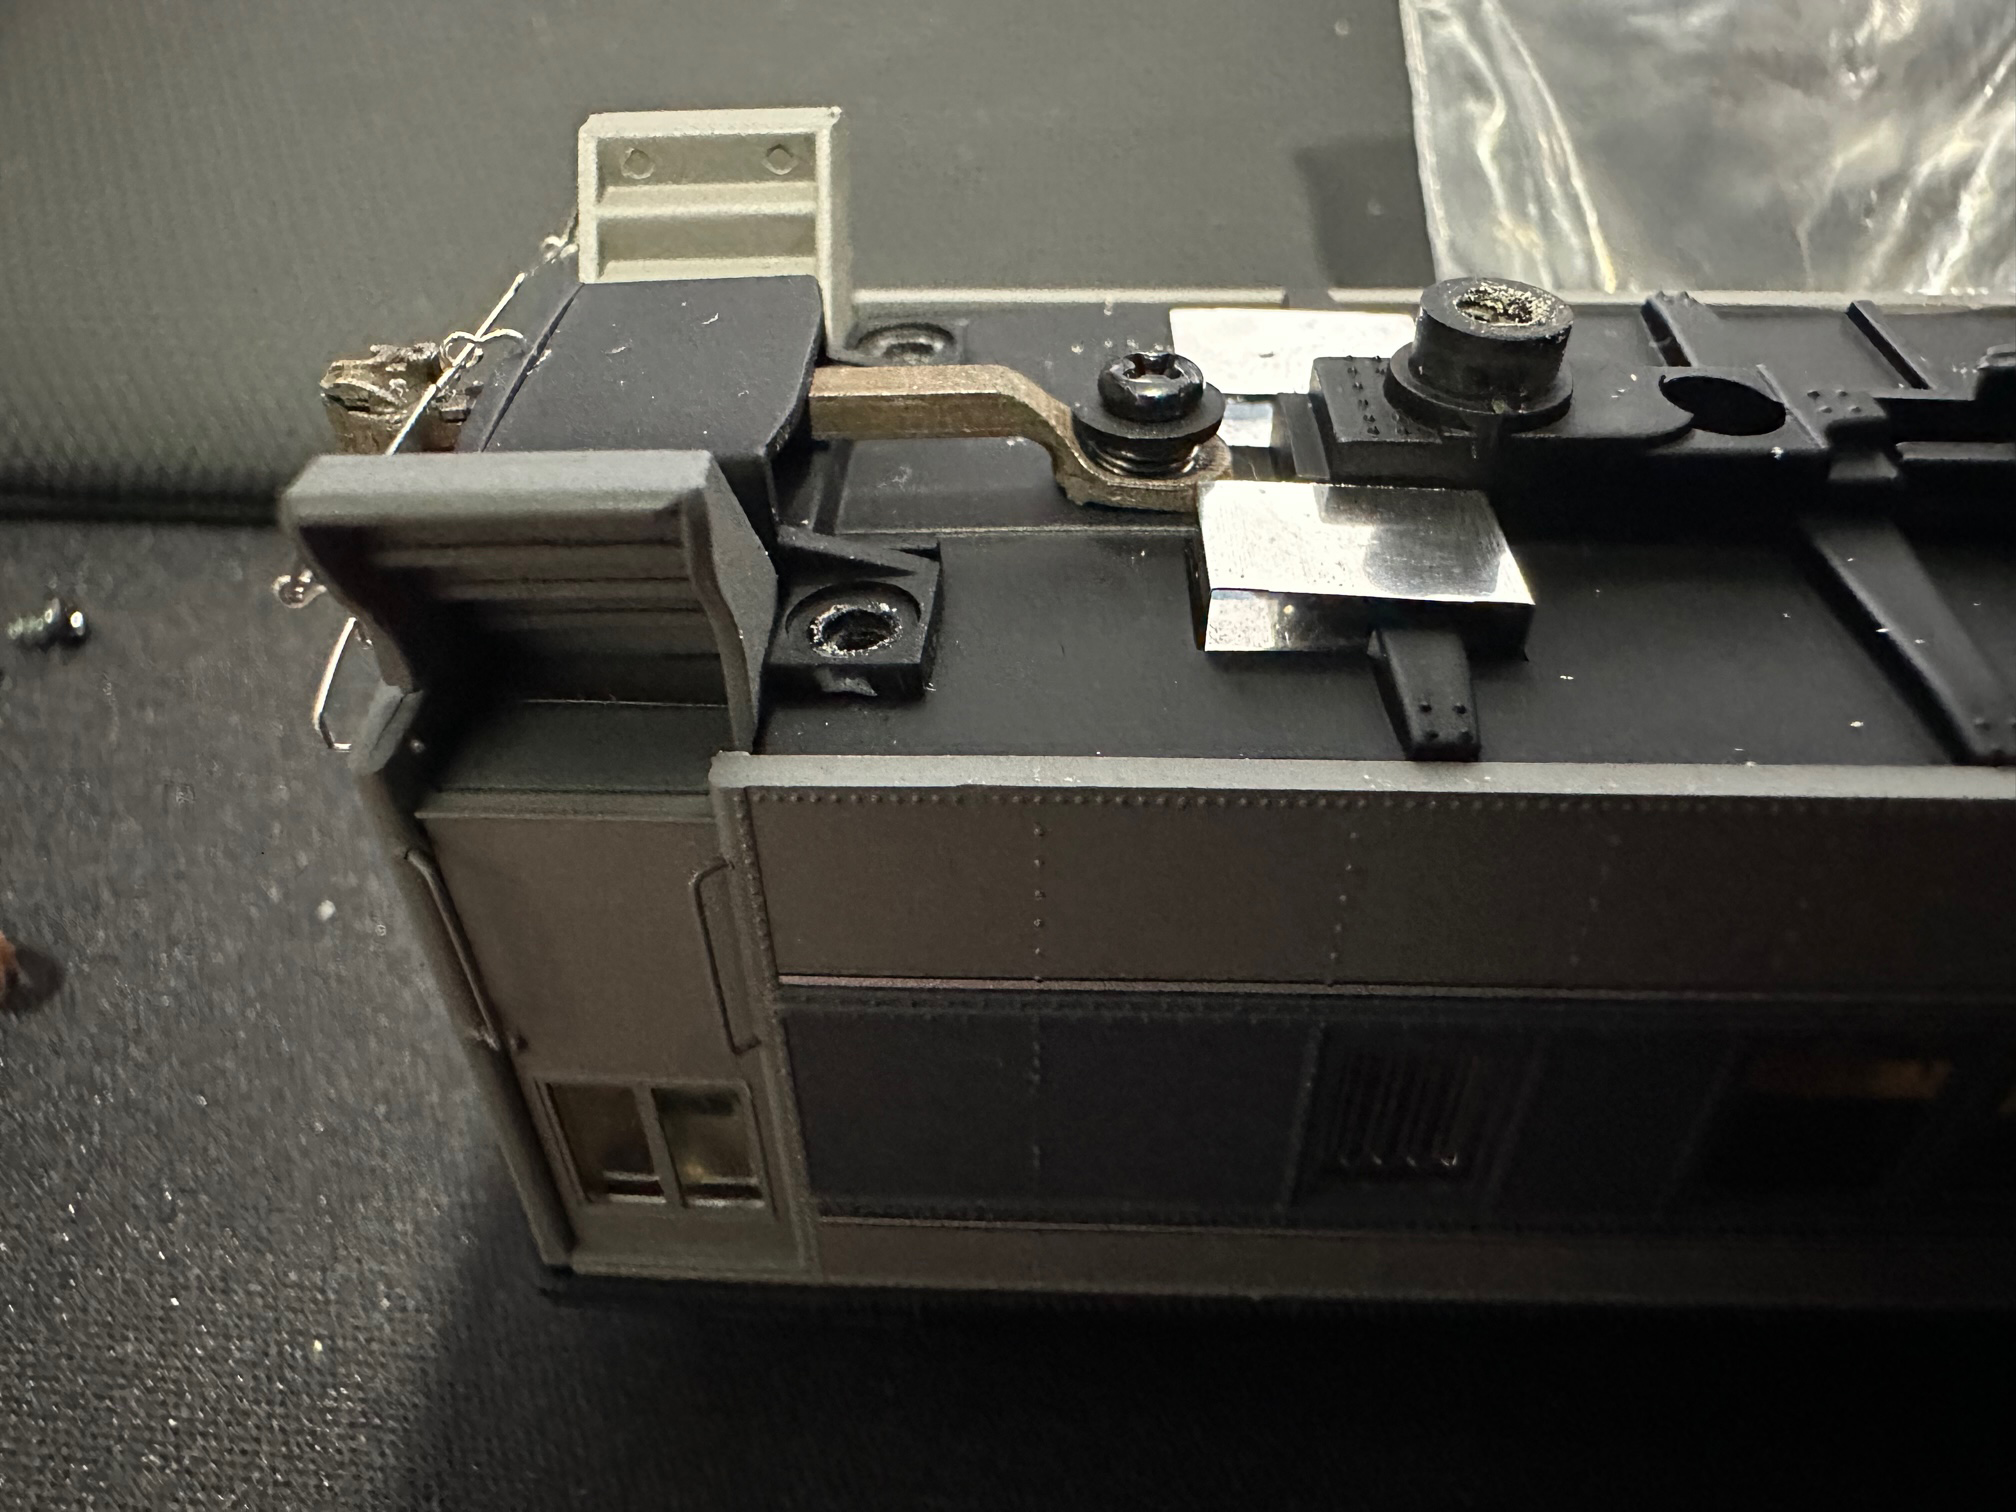
Here is the mounted coupler. The coupler should not bind as it swings from side to side. The spring should force the end of the coupler upward against the yet to be installed carry iron.
The carry iron is installed again in this picture. Be sure to push the car end back into place after the carry iron is back on. It should easily snap back to its original location.
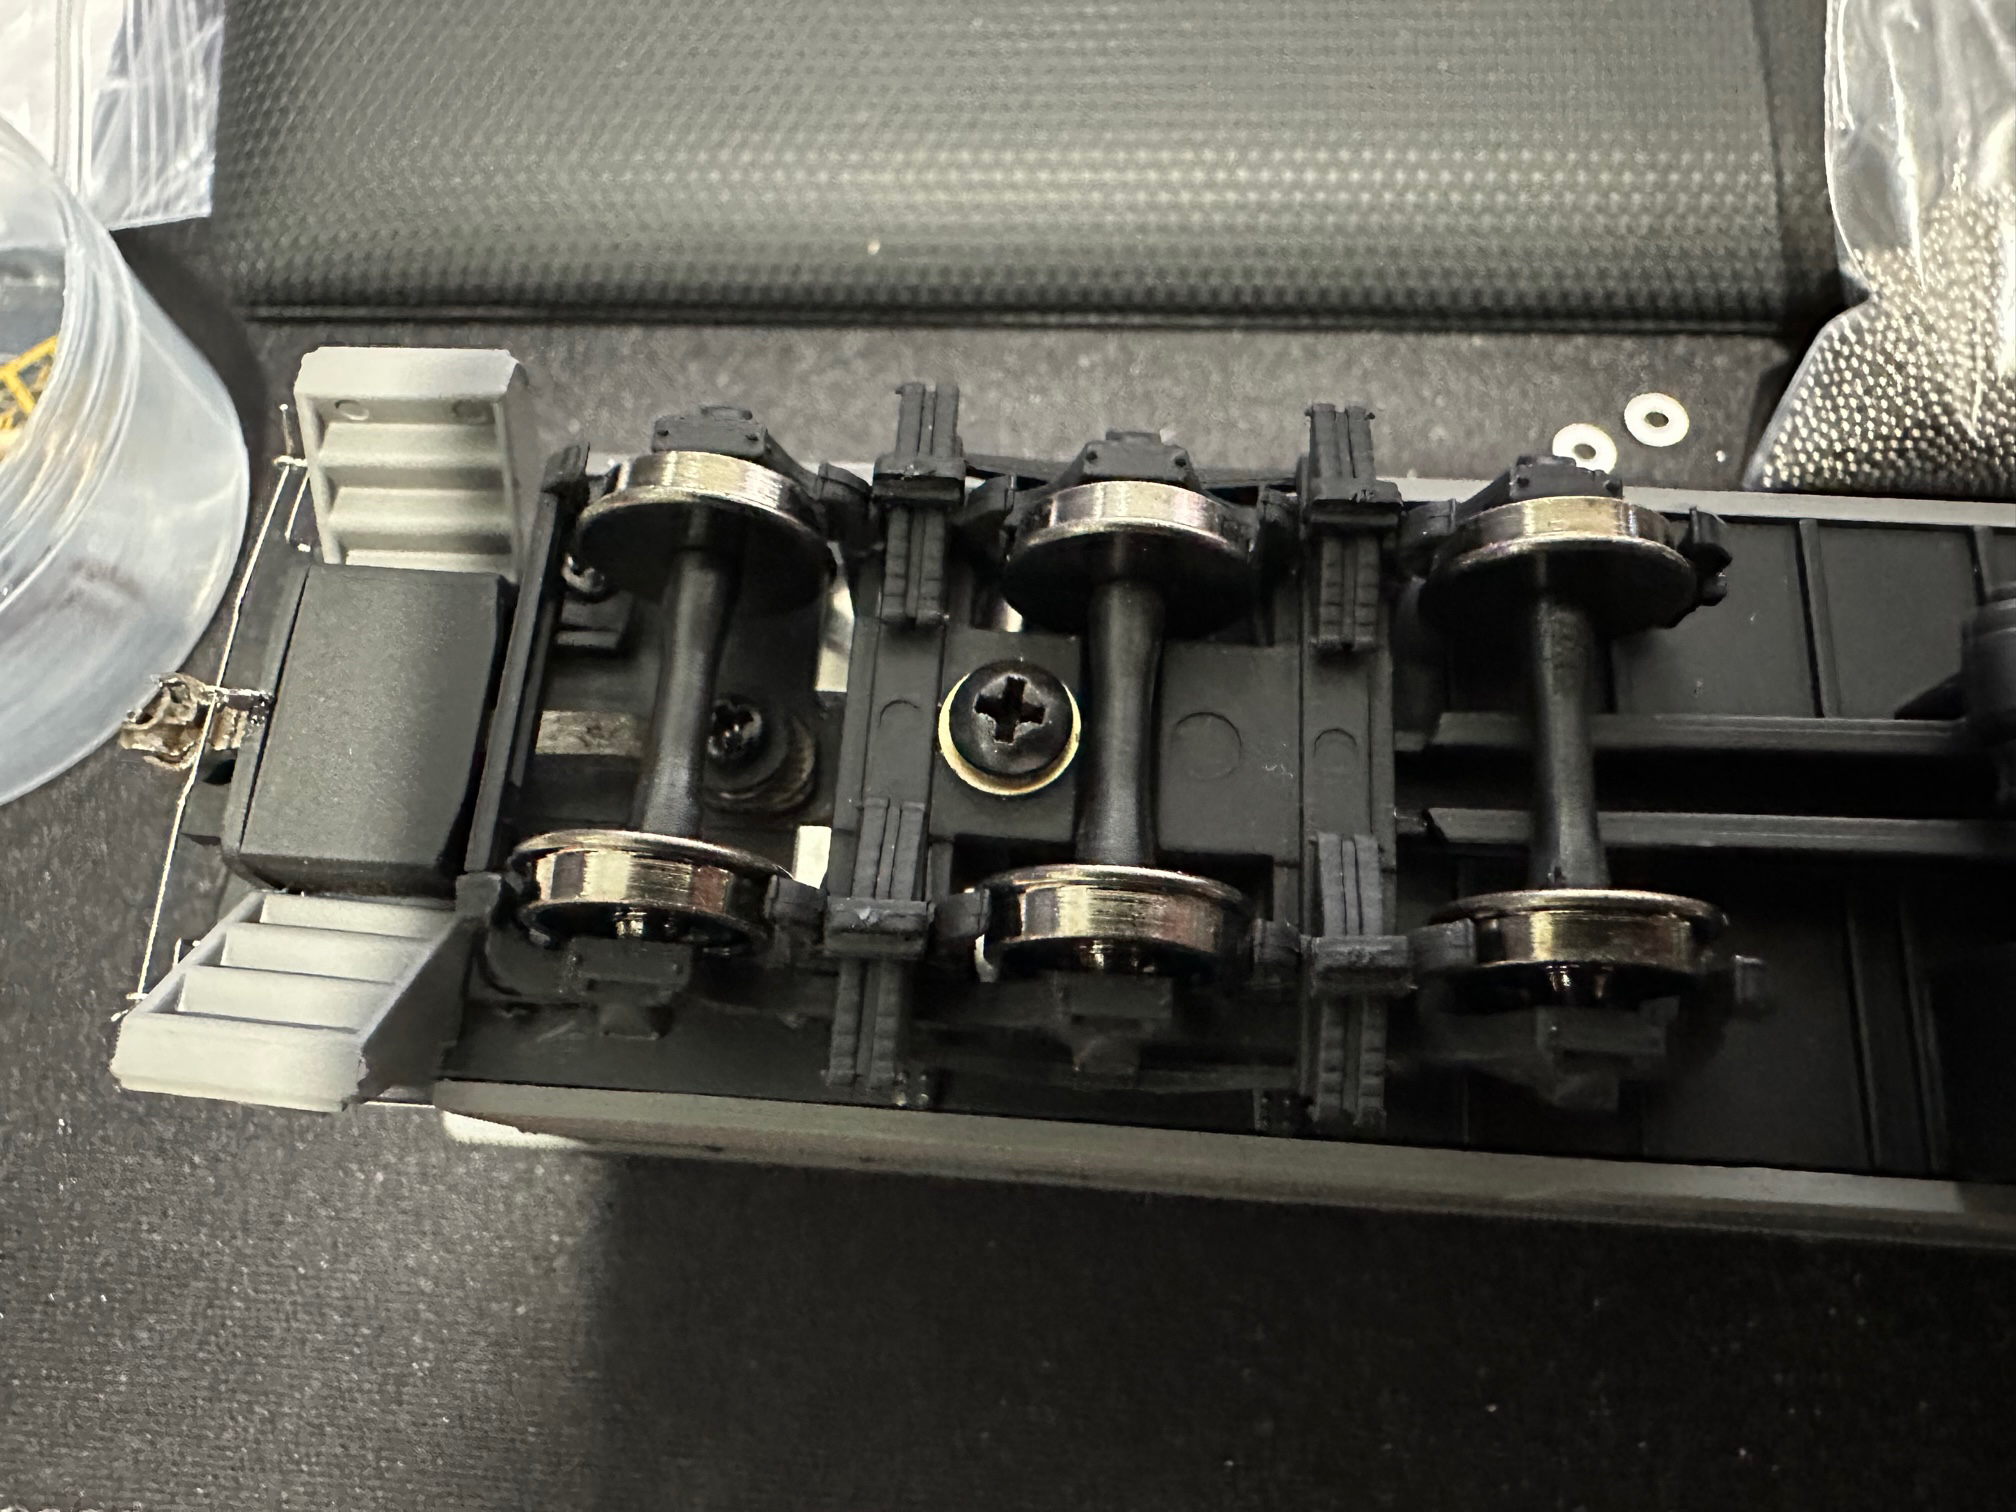
Put the trucks back on the car now. Study the parting line on the axel of the middle wheelset. Make sure it can't catch the edge of the screw as the wheel rotates. If it does, scrape the parting line smooth with a hobby knife. This is especially important with older cars that use a washer in this location. If the axel catches the edge of the screw the car will literally hop of the track!
Here's the car with the new coupler. Not bad at all!