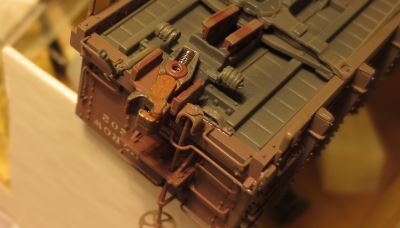
Blackstone Models HOn3 cars are great. They are pretty much ready to go right out of the box - but those stock 714 coupler really have to go.


Sometimes the coupler won't flop around as desired. This needs to be corrected. The mounting hole on the coupler will have to be enlarged slightly. This is easy to do with the Sergent Engineering RM40 tapered reamer. Insert the reamer from the bottom of the coupler and spin it to remove a little metal. Then perform the "flop" test again.
The RM40 reamer requires much less force than its big brother the RM20 reamer (used for the EC87 couplers) does because its diameter is quite a bit smaller. Do be careful though. The RM40 is just as sharp!

Once we pass the "flop" test, we are ready to install the friction spring. Start by placing the friction spring against the mounting post with its tail hanging over the rear of the coupler as shown in the picture. The springs are too small to be positioned with my fat fingers, but can be easily moved around with tweezers.
Here's another trick you can use to position the springs that works even better: Lightly rub the tip of an xacto blade across the end of a Prototype Couplers MS uncoupling wand to magnetize the blade slightly. Now you can push the blade between the coils of the spring and the blade will stick to the spring.
We always include extra springs, and will send more if you need them. You can also buy extra ball/spring packs so you always have them handy.